Raspberry Pi ID
Create a Raspberry Pi ID
Edit this on GitHub
To use Raspberry Pi services, you must first create a Raspberry Pi ID.
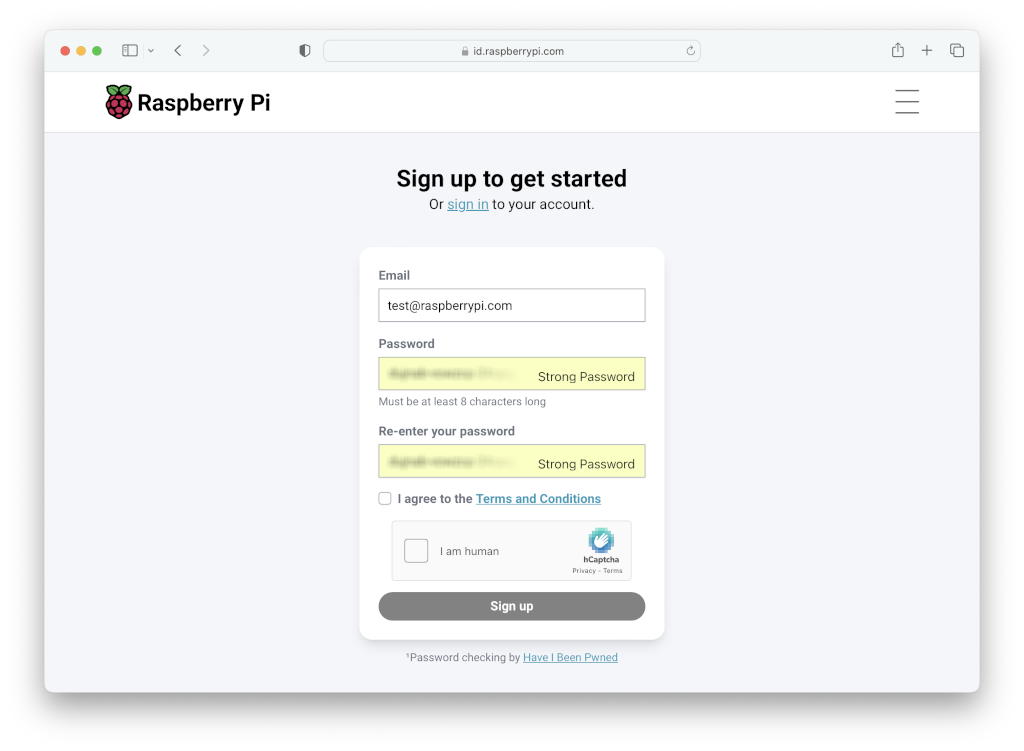
In a browser, navigate to id.raspberrypi.com.
Enter an email and password. Click the Sign up button to create your account.
After you create an account, you receive a verification email.
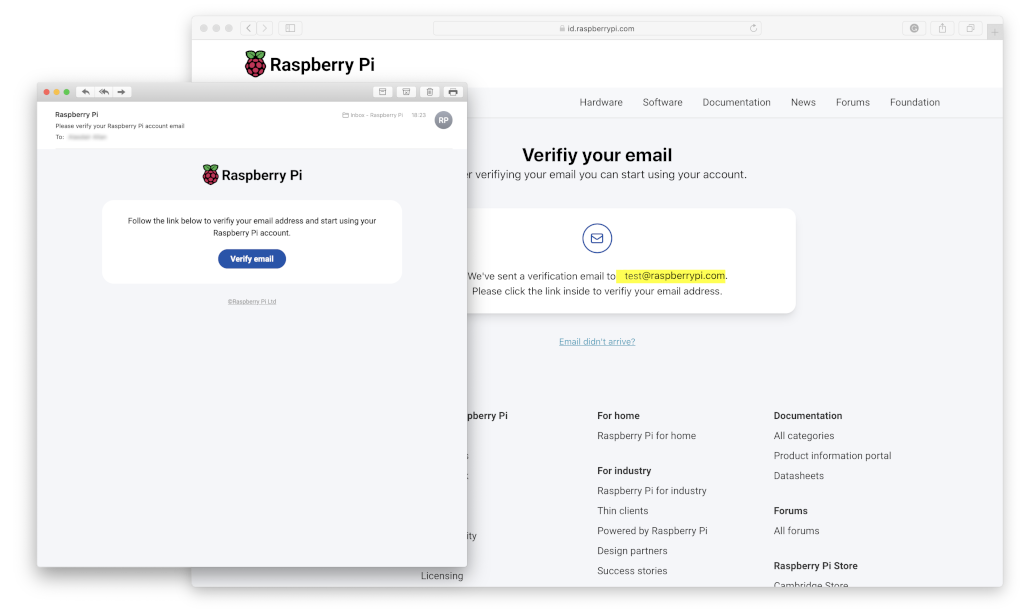
Click the Verify email button in the email to verify your email address and complete account creation.
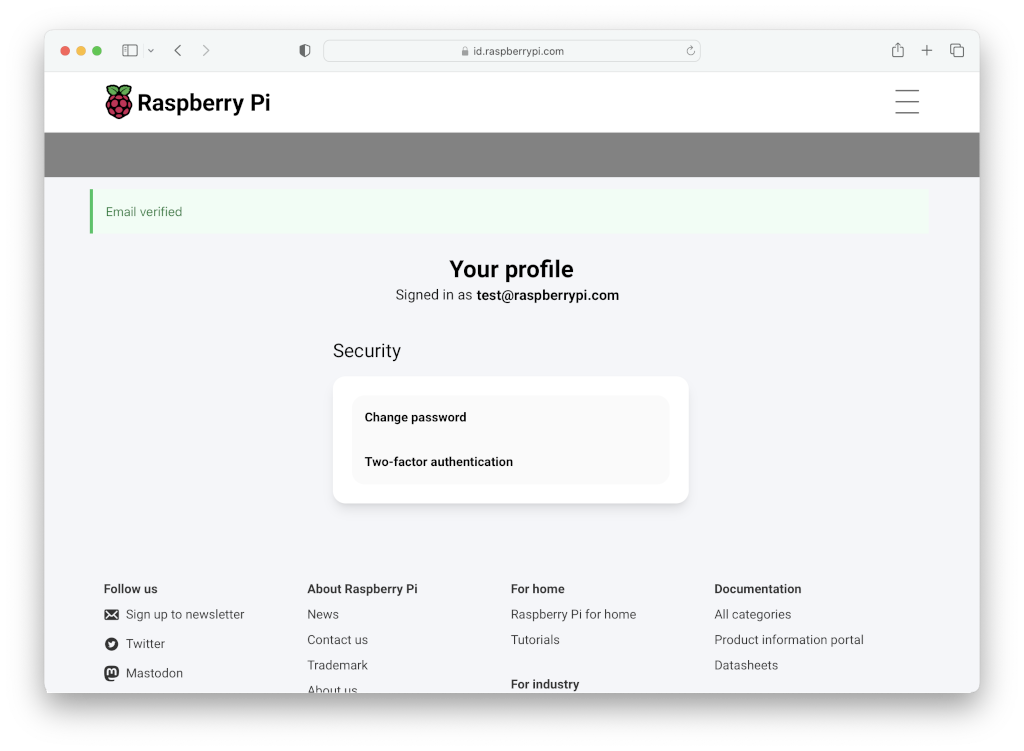
After creating a Raspberry Pi ID, you can log in to Raspberry Pi services using the Sign in with Raspberry Pi ID button.
Enable Two-factor authentication
Edit this on GitHub
Like most modern web services, Raspberry Pi ID supports two-factor authentication (2FA) using a time-based one-time password (TOTP).
Two-factor authentication adds an extra layer of protection. In addition to a password, 2FA requires another piece of information to log in. You should base this second factor on either something you have (like a smart phone) or something you are (like biometric information).
This guide uses your smart phone as a second factor for authentication.
|
Tip
|
Raspberry Pi ID supports macOS and iOS iCloud Keychain integration. Right click the QR code to get the "Set up verification code" option on your Mac or iPhone. |
Install a 2FA application
First, download an app to your phone that generates TOTP. Install any 2FA app like Authy or Google Authenticator.
Enable 2FA
To enable 2FA, click the Two-factor authentication option when signed in to your Raspberry Pi ID.
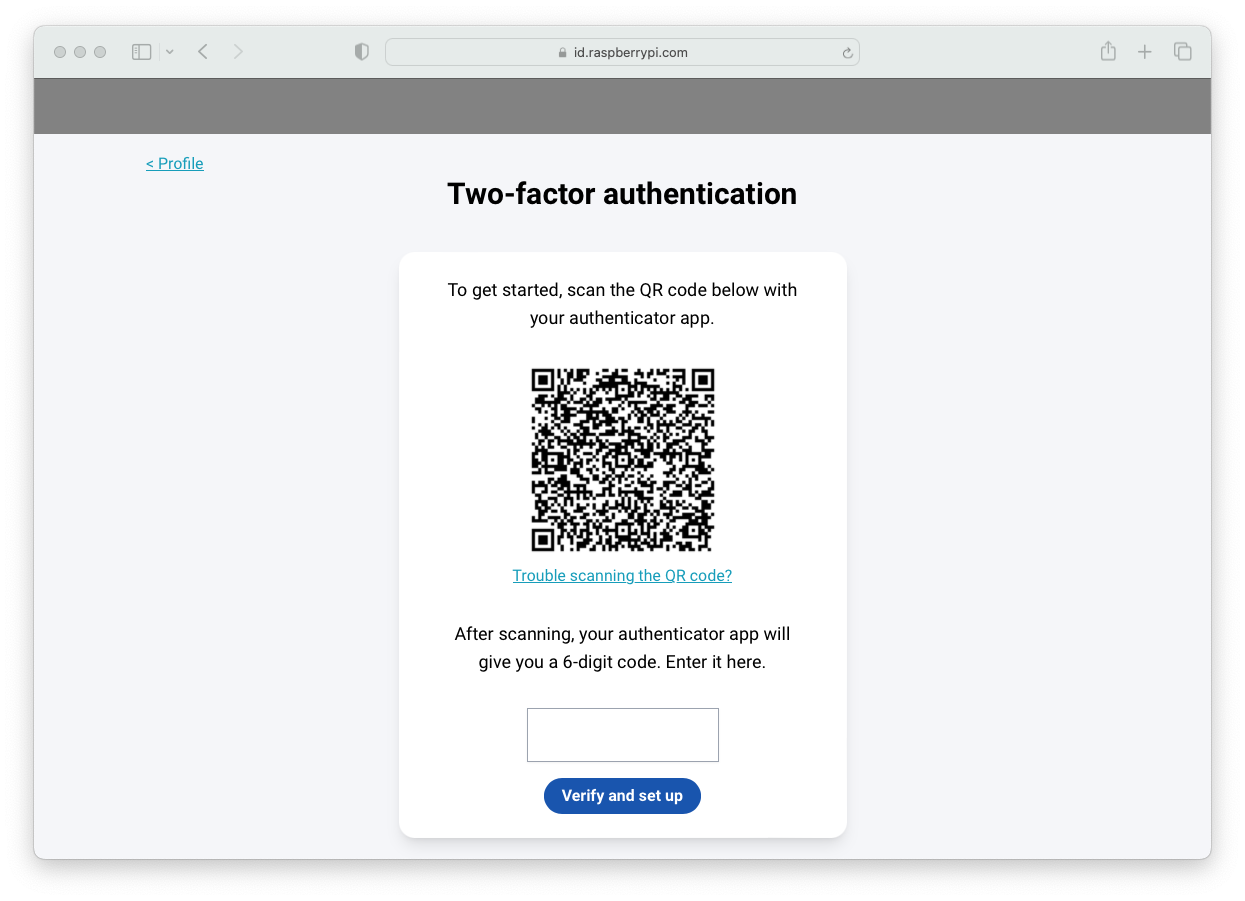
Open the 2FA app on your phone. Scan the QR code provided by your Raspberry Pi ID with your 2FA app to begin generating tokens.
|
Note
|
See the documentation for your 2FA app to find out how to scan a QR code to generate a token. |
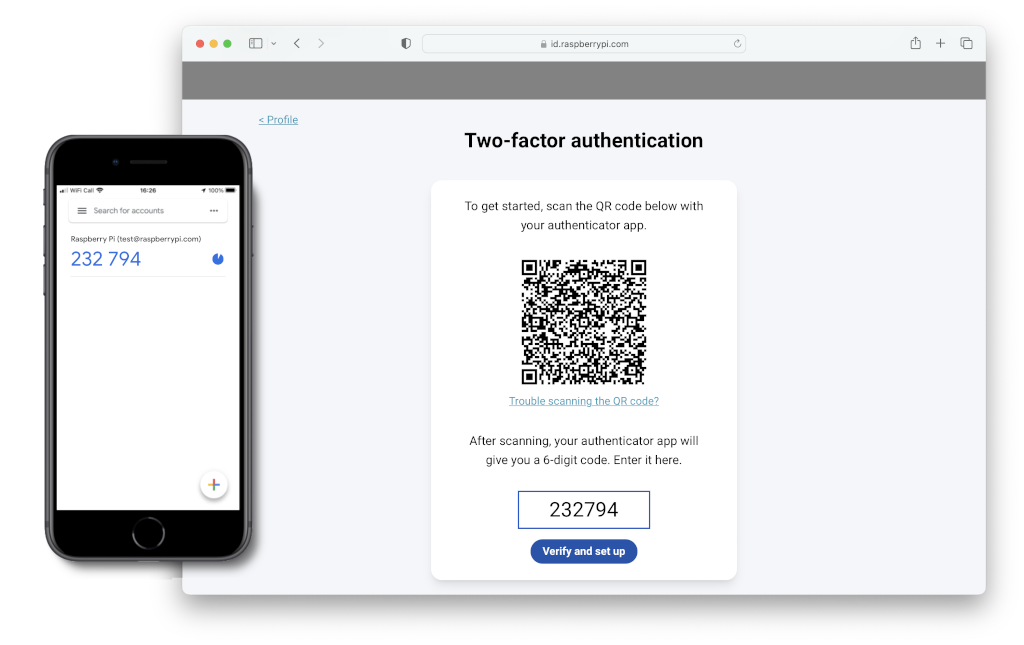
Enter the six-digit TOTP generated by your 2FA app to register the 2FA app with your Raspberry Pi ID.
A confirmation screen will appear, containing a recovery code. Store the recovery code in a safe place. This is the only way to bypass 2FA if you lose your phone and the 2FA app.
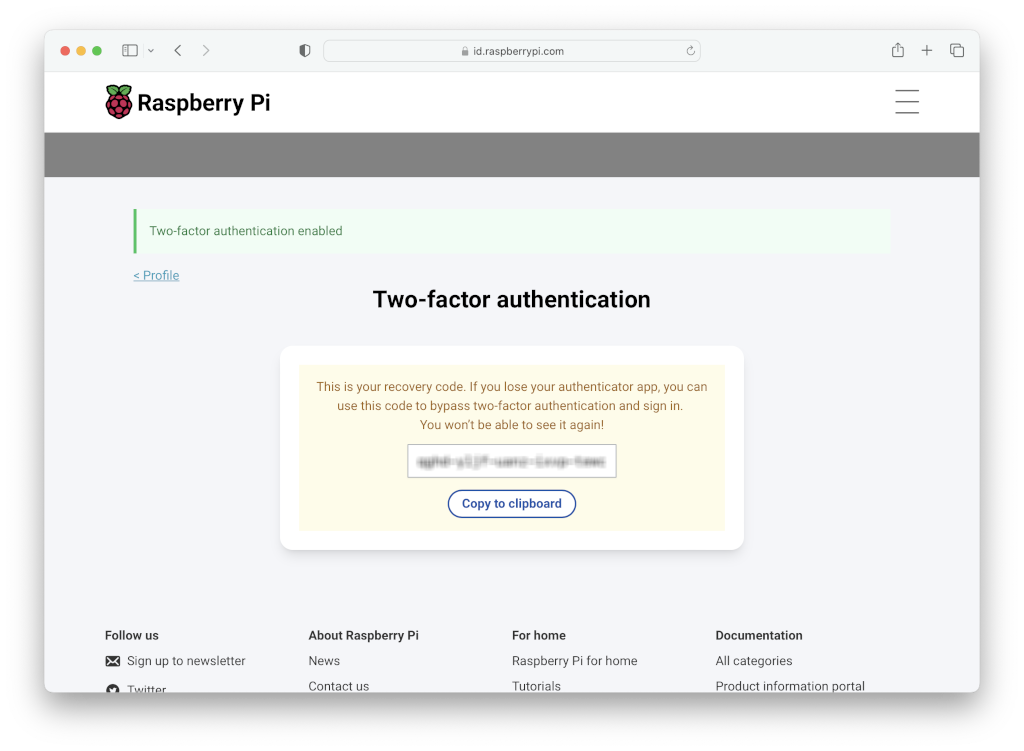
You have now configured your Raspberry Pi ID to require 2FA. From now on, sign in requires a TOTP generated by the 2FA app on your phone.
|
Note
|
You can disable two-factor authentication at any point in the future at id.raspberrypi.com. |