Let Raspberry Pi spot the aurora borealis for you while you stay warm (and asleep)
Frank Prins was inspired to build an all-sky camera following a magical trip to Svalbard in Norway. Loads of tourists visit in the hopes of catching a glimpse of the aurora borealis (also known as the Northern Lights). The problem is, they’re not always visible, and when they are your view could still be blocked by snowstorms. Even if you luck out with a clear night sky, it is flipping freezing and you’ll have to camp out for hours in the dark to see them.

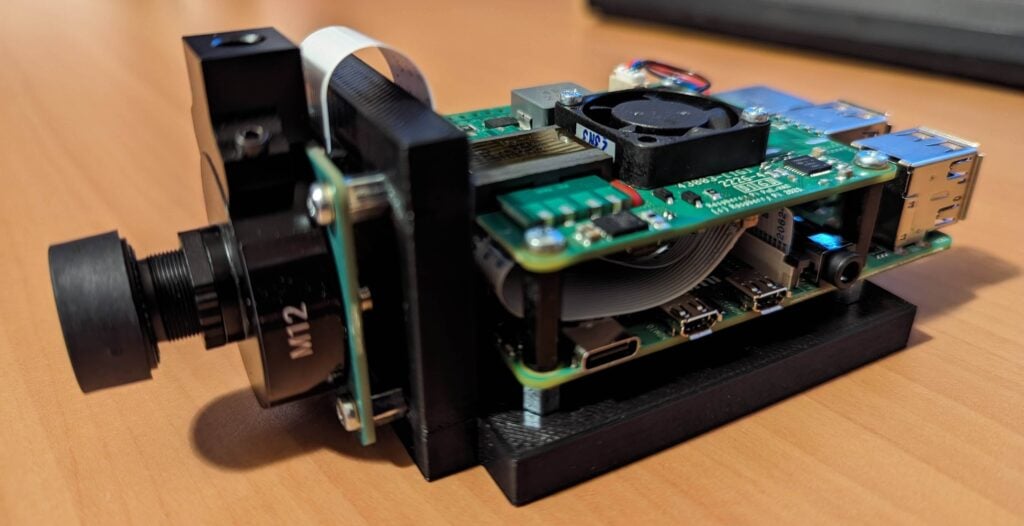
To get around all of these obstacles you could leave an all-sky camera out overnight to capture the light show, then watch it from the comfort of your own traditional trapper’s cabin. The catch is that these cameras are extremely expensive, so Frank built his own budget-friendly version using a Raspberry Pi 4, a Raspberry Pi PoE+ HAT, and a Raspberry Pi High Quality Camera.
Svalbard is a Norwegian archipelago in the Arctic Ocean. Frank’s home-made design, therefore, needed to withstand harsh weather conditions and be able to operate at -50°C. He wanted it to alert him of any aurora activity so he could rush out to see it for himself, as well as taking photos of the sky as keepsakes in case he couldn’t go outside at the right moment.
Cosy, weatherproof housing
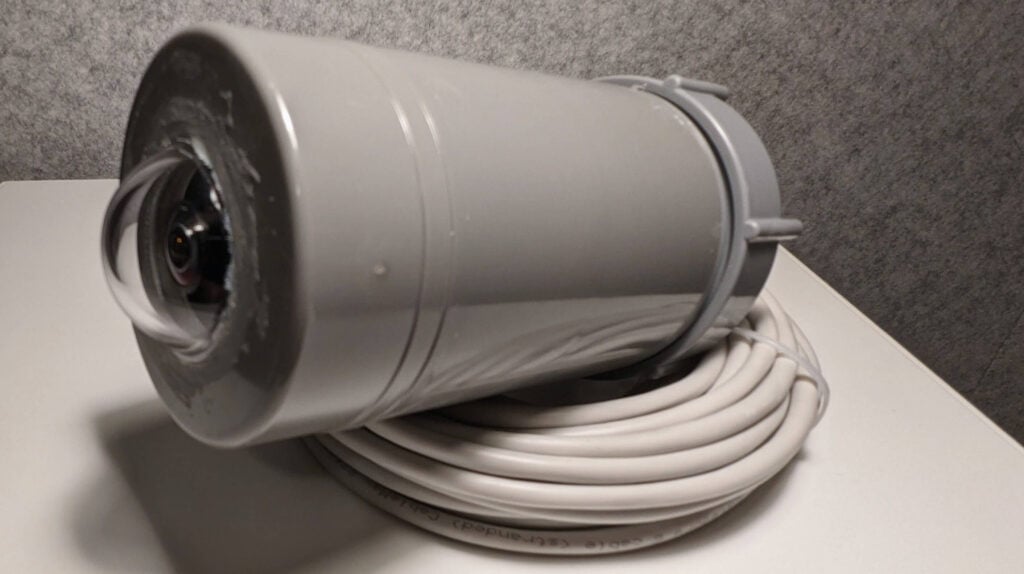
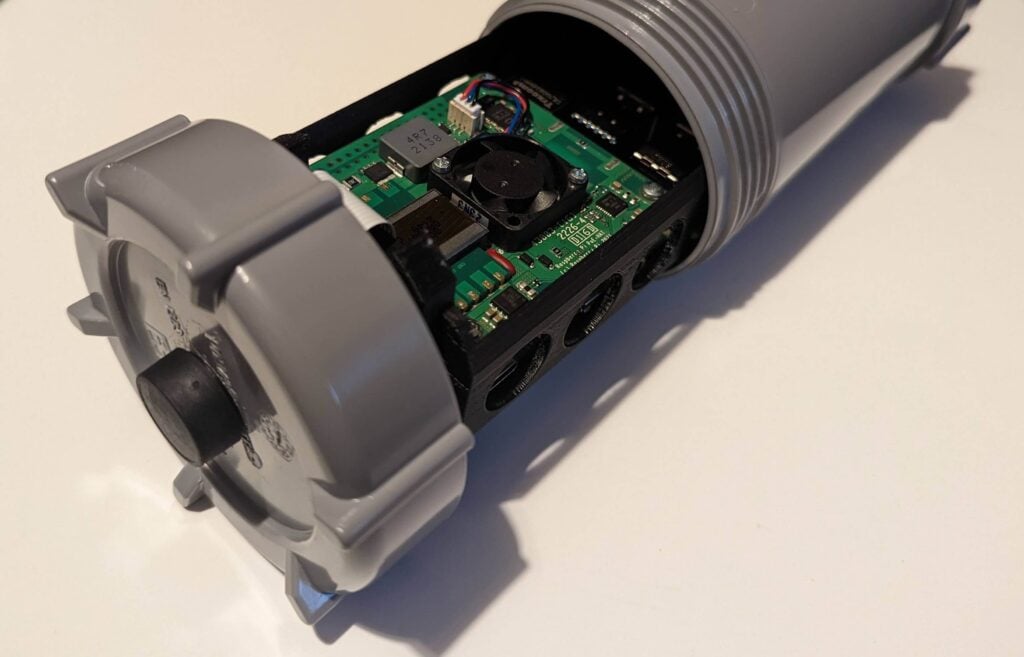
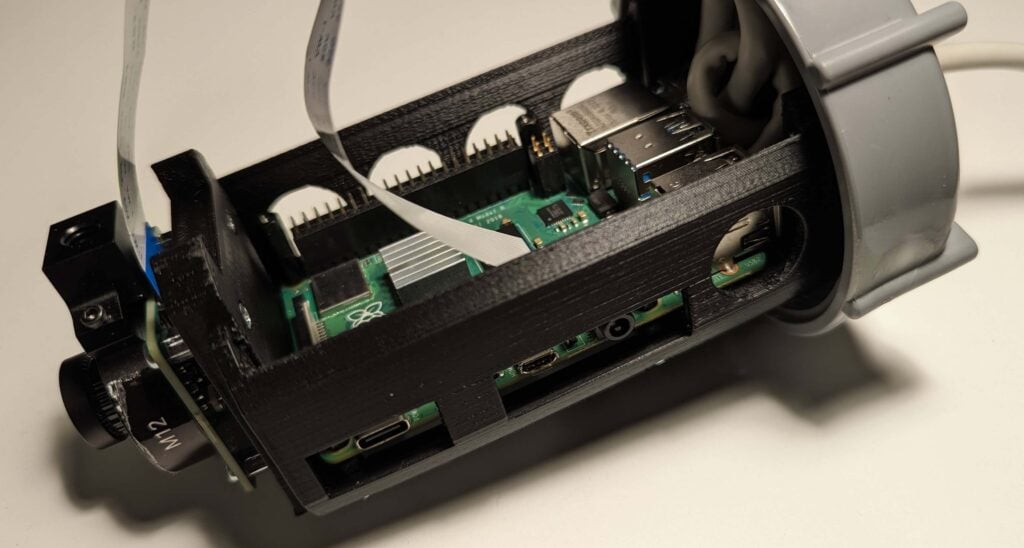
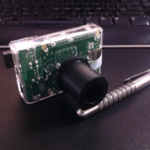
All the electronics are tucked inside a 7.5cm-diameter PVC tube with a screw-top end cap. Frank 3D-printed a mount that holds the Raspberry Pi and the PoE+ HAT inside the tube, allowing for easy access to the microSD card and the camera ribbon cable. He also added some holes and cut-outs for air flow and cable management. The Raspberry Pi camera slots into its own holder on the end of that 3D-printed part, and a clear acrylic dome from a security camera protects the lens from the elements.

Noticing Northern Lights automatically
The project post only covers the hardware side of things, but Frank is going to make an app that provides real-time alerts when the camera sees signs of the aurora borealis in the sky. He promises that in the next part of his build blog he’ll show us how to detect upcoming light activity from an image like this:
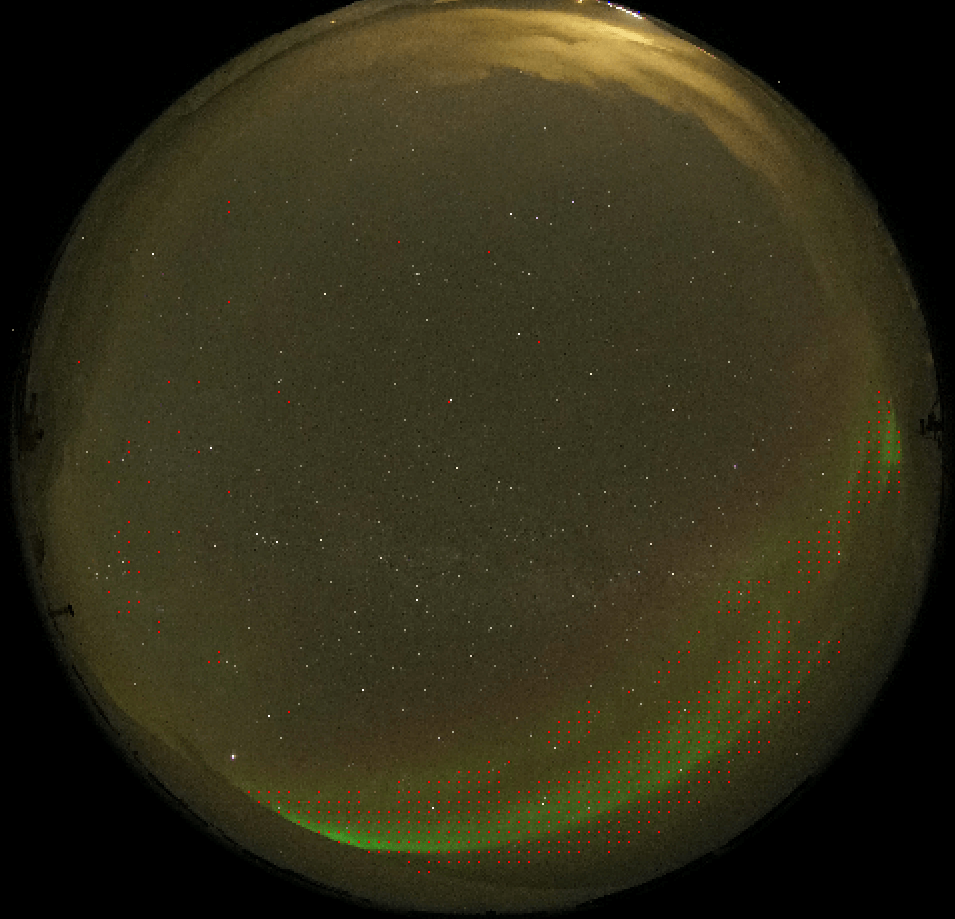
For this, he uses the Allsky software, available on GitHub. It allows the user to control the camera settings, capture images, upload them to a web server, and lots more.
Affordable stargazing
The total cost of this project was €273.11, much cheaper than any commercial all-sky camera Frank could find.
Head to Frank’s website for a detailed walk-through of all the steps he took to create his all-sky camera. There’s also a cost breakdown of all the hardware, as well as the 3D print files for the custom mount that supports the electronics. Remember to keep an eye out for his next project post to learn how his custom app works to alert him when the night sky is about to explode into colour.


No comments
Comments are closed