How to control multiple servo motors with Raspberry Pi
In the latest Explaining Computers video, Christopher Barnatt explains how to use servo motors with Raspberry Pi. Using servos is a great introduction to the digital making side of computing; servos allow you to control the movement of all manner of project components with your Raspberry Pi and a motor controller attached to its GPIO pins.
Servos and your Raspberry Pi
Christopher picked up his SG90 servo motors online, where you’ll find a variety of servo options. What type of servo you need depends on the project you want to create, so be sure to consider the weight and size of what you plan to move, and the speed at which you need to move it.
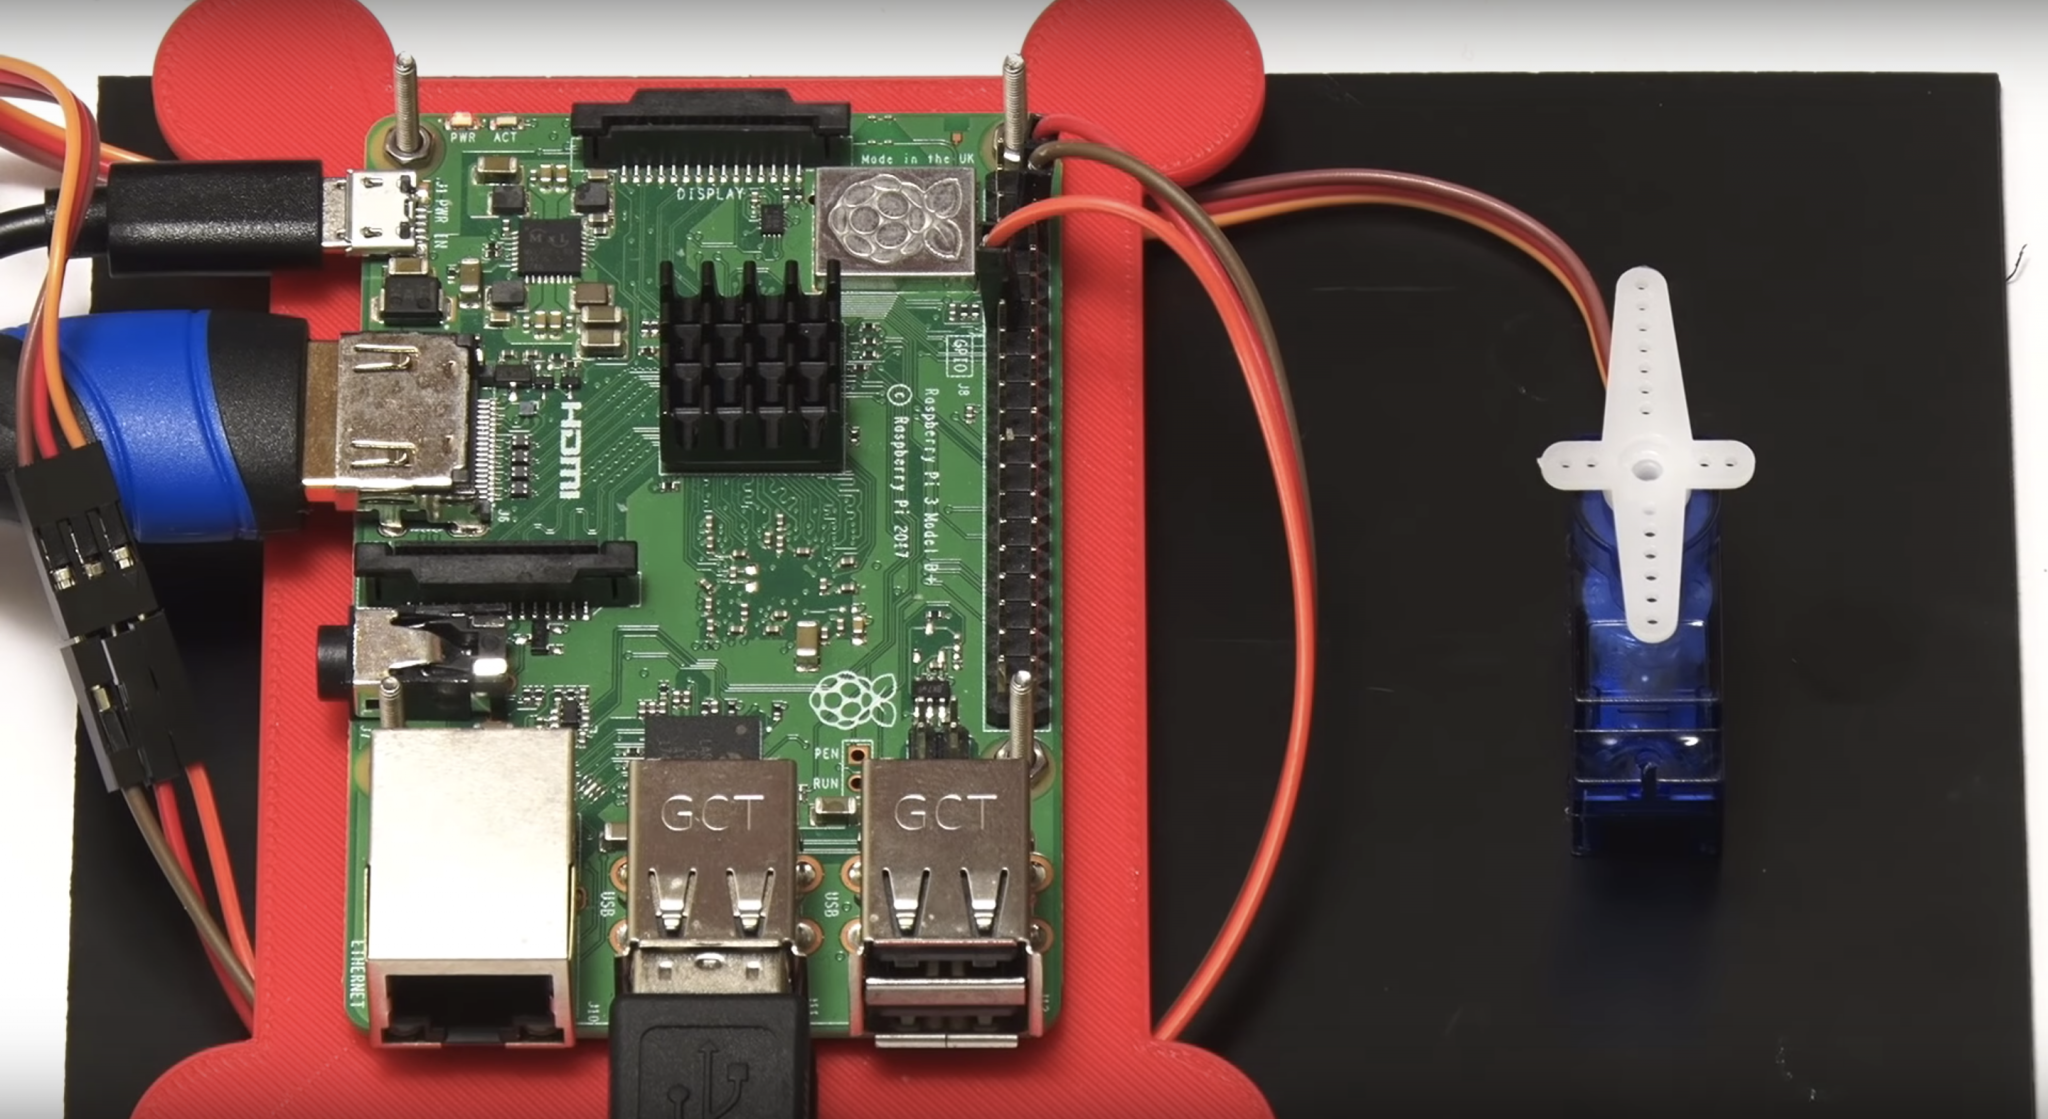
As the motor controller connects via GPIO, you can even use the tiny £5 Raspberry Pi Zero to control your servo, which makes adding movement to your projects an option even when you’re under tight space constraints.
Find out more
For other detailed computing videos, be sure to subscribe to the Explaining Computers YouTube channel.
And for more Raspberry Pi projects, check out the Raspberry Pi projects page.
Raspberry Pi projects PSA
We’re always looking for people to join our incredible community of translators to help us translate our free resources, including the free projects found on our projects page.

If you speak English and another language and would like to give a portion of your time to making our resources available to more people across the globe, sign up as a translator today.


2 comments
yeow kai ze
will it cause inductive damage to pi withoout connecting motor driver?
David Goadby
No, these are servos and the control input is just an ordinary 3 volt signal with no back-emfs to worry about. Personally, I would give the servos their own power supply to prevent the motor noise back-feeding into the Rpi via the power lines. For one or two on a demo you will probably get away with it. For a permanent set-up then a split power system would be better.
Comments are closed