Upcycle a Sonos Play:1
If you’ve got a broken or unused Sonos speaker sulking in the corner, it’s possible to upcycle it for many different purposes using Raspberry Pi.
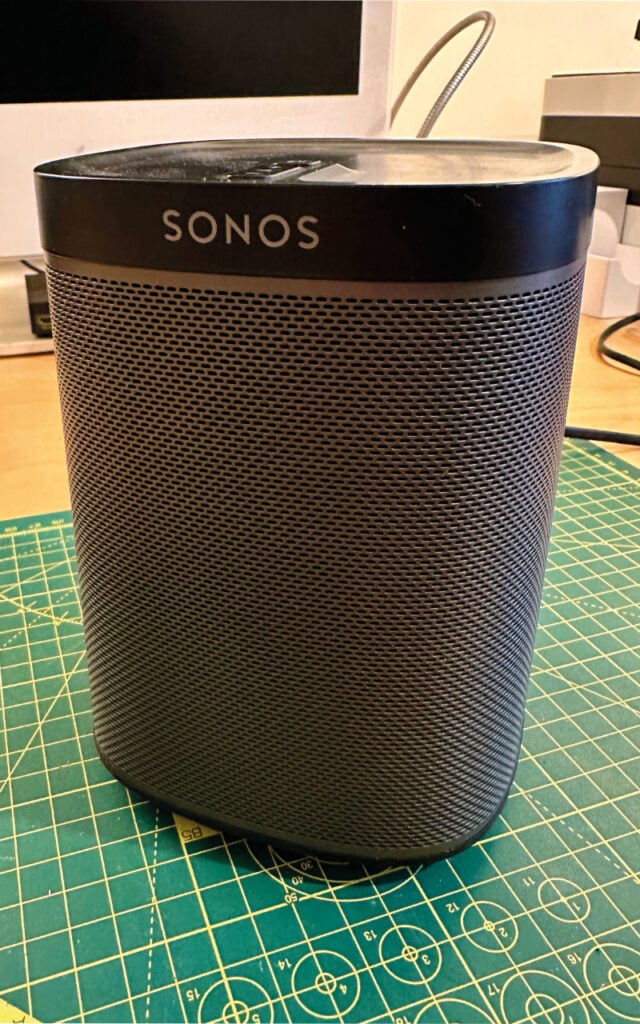
Upcycling and the right to repair are hot topics right now. Just because an electronic device has failed, or is no longer required, it shouldn’t mean instant landfill. When we came across a sad Sonos Play:1 that was more of a ‘Silence:1’, we decided to investigate the possibility of repurposing the high-quality speaker and enclosure. The result was a new lease of life with plenty of options within its capabilities. This tutorial shows how to do it and is not just for a Play:1, but more of an example of how you can give dead tech a new purpose.
01. Build your stack
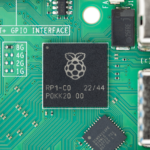
Let’s start with Raspberry Pi itself. We selected a 3 Model A+ for this project thanks to its smaller form factor which means it doesn’t get in the way of the main speaker in the unit. You could also use a Raspberry Pi Zero 2. There are many choices for audio output, but the one thing you need is amplification. Most DAC HATs are line-out only, relying on external amplification, so make sure yours can be wired directly to speakers. The Sonos Play:1 speaker is 4Ω, so we selected a matching amp: in this case, the Justboom DAC and AMP combo. Assemble everything according to instructions and, from now on, use the 20 V power supply connected to the HAT to power everything.
02. Prepare the operating system
As is traditional in these tutorials, it’s operating system time. Depending on your plans, it’s your choice whether you have a desktop or not (VNC into a speaker? Why not?) but we went for Raspberry Pi OS Lite (64 bit) and wrote the image to an SD card using Raspberry Pi Imager, making sure Wi-Fi and SSH access were configured in advance as, once in the enclosure, we won’t have keyboard or video access. Once installed, make sure you can get SSH access over your network then run sudo apt update -y & sudo apt upgrade -y so that everything is up to date.
03. Disassemble your Sonos Play:1
Let’s create some space for the Raspberry Pi and the amp. Carefully remove the rubber strip on the base that hides the screws. Now remove the Torx screws. Lift out the base then slide the speaker grille off. Remove the tape from each corner to reveal the screws holding the top section and remove them. Pop off the top section and detach the ribbon cable from the mainboard. Now remove the remaining screws to carefully separate the front section from the back. For a complete guide, see this iFixIt article (magpi.cc/play1mb).
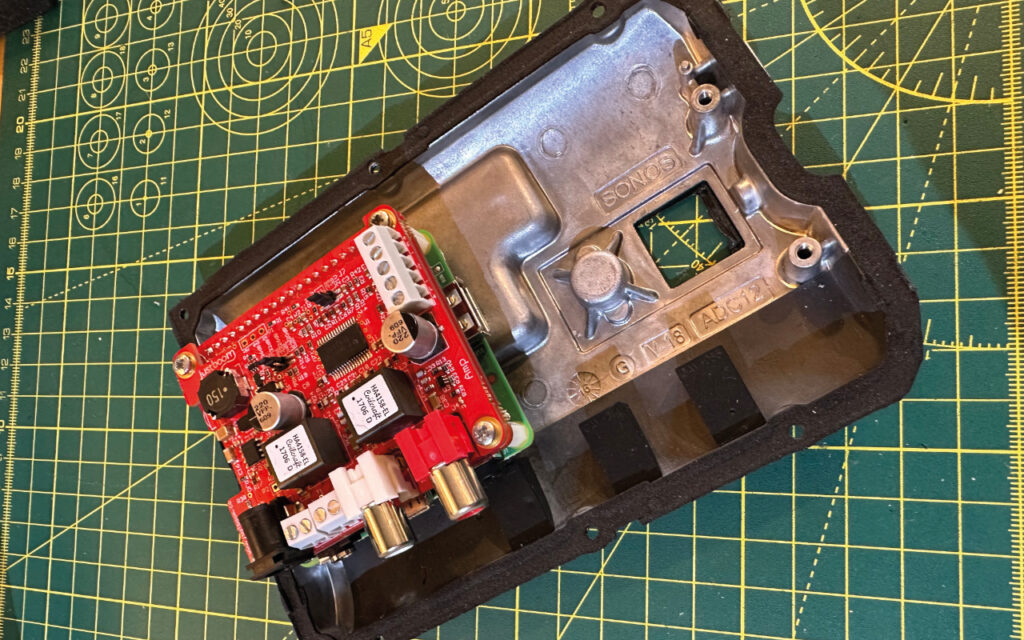
04. Remove the mainboard
IMPORTANT: This part involves potentially harmful electricity. Minors must be supervised. Take a look at the mainboard on the rear part of the enclosure. See the three brown capacitors? They are likely to be holding charge from the mains electricity. Do not touch them, especially the contacts to the motherboard. Carefully remove the wiring loom to the speakers then unscrew the board. Remove the board by the edges. Ideally, at this point you should discharge the capacitors for safety. See the guide in the warning box. Either way, discard the mainboard at this point unless you intend to recycle it.
05. Clear out the wiring
At this point you should have a plain metal backplate to the whole enclosure. This is where the Raspberry Pi and amplifier will be installed. Turning our attention to the main section, you’ll see some wiring still installed. We need to remove all of this. Start by looking at the speaker terminals. The wiring loom is connected using spades, and we can reuse those, so using needle-nose pliers, remove the terminals. Make sure you note which are positive and negative; they are different sizes and we want to make sure we reattach using the same polarity. Finally, clip out the smaller wires near the base which are no longer required.

06. Build the new wiring
Time to heat up the soldering iron. Clip off the spades from the original wiring (which can now be discarded). Make sure the speaker wire you have chosen is a suitable size to fit in the screw terminals of the amplifier. Now, matching the original polarity, take a decent length of speaker wire (you can trim it later) and solder to the main speaker spades, then using a 10 cm additional strip, solder the tweeter spades to the main spades so they are in parallel. Silver the opposite end of the wire and screw into the + and – terminals of the amplifier for the left channel. Once connected, return the spades to their original terminals.
07. Configure the DAC
Let’s return to the Raspberry Pi. With the speakers connected, boot up and get a command line prompt either directly or via SSH. At this point the DAC & amp are unknown to the operating system, so we need to make some changes. Instructions vary for different DACs. For Justboom, we need to edit config.txt to load the drivers at boot time. Run this command:
sudo nano /boot/config.txtFind the line dtparam=audio=on and comment it out and add the lines below so it matches:
#dtparam=audio=on
dtparam=audio=off
dtoverlay=justboom-digi
CTRL+X to save, then Y to exit. Reboot now with sudo reboot.
08. Test time!
Let’s make some noise! White noise to be exact. Get back to a command prompt and first let’s check the volume levels. Enter alsamixer and you’ll see some controls. Use the arrow keys to move along to ‘Digital’ and turn it up to about 50%. If you see ‘MM’ there, press M to unmute the channel. Press ESC to leave. Now run this command:
speaker-test -c 1If all is well, you’ll hear a static-like sound from the speakers. Lightly press your fingertip against each speaker to feel the vibration. When you’re happy both are working, use CTRL+C to stop playback.
09. Mounting the Raspberry Pi
Examining the Sonos Play:1 backplate we encounter a bit of luck. The top two screw terminals are exactly the same width apart as the standard Raspberry Pi mounting holes. Hurrah! It’s not all plain sailing though. They are M.3 size and the Raspberry Pi holes are M2.5. So if you’re feeling brave, use a low-speed rotary tool with a 3mm bit to carefully bore out the two holes to M.3 size. Note: You can permanently damage your Raspberry Pi at this point, take your time. Now, using the screws from the original board, you can mount the stack to the backplate. It’s a good idea to line the surface with insulation tape to avoid short circuits.

10. Power wiring
We’ve been using the 20 V power supply as the standard Raspberry Pi 5 V supply isn’t enough to drive the amplifier as well. Now the original mainboard has been removed, there is a space previously occupied by the Ethernet connector that can be used to feed the power through to the board. If you’re feeling fancy and have the kit, consider 3D printing a cover for the aperture that can hold a chassis-mount barrel socket. Then you can create a link between the socket and another connector internally. Now the power supply is no longer tethered to the Sonos Play:1.
11. Reassemble
Before getting the screwdriver back out, make sure everything is still working as expected and there’s no chance of any short circuits when the unit is put back together. If you have too much slack on the speaker lead, now is the time to trim it down and re-silver. You should have enough that you can easily open up the two halves of the enclosure should you need to. Now reverse the earlier process. Reattach the backplate to the main body, add on the top piece, slide on the speaker grille and then the base and its rubber strip.
12. Final test
Once everything is back together, it’s time for a final test run. Power up the upcycled unit, and make sure you can get a Wi-Fi connection (despite the thick casing, we’ve found the Wi-Fi to remain reliable – of course, there’s nothing to stop you using a wired connection if you prefer). Run the speaker test again, altering the volume if you need to. You may have noticed a potential problem. We’ve only got one speaker connected to the left channel? Don’t we have stereo in 2024? Well, yes, and we need to mix the two channels and also find a cool application for our new audio toy. That’s for next month’s issue of HackSpace magazine.
HackSpace magazine issue 79 out NOW!
Each month, HackSpace magazine brings you the best projects, tips, tricks and tutorials from the makersphere. You can get HackSpace from the Raspberry Pi Press online store or your local newsagents.


4 comments
Mathias
Is it possible to make the microphone usable as well?
Carsten
I don’t get it. The Play:1 is a two way speaker with an internal digital crossover. How do you realize the correct power levels and the crossover (or cutoff for the bass) frequencies?
michal
hm, for broken mainboard may be, however given very strong audio processing of Sonos to achieve something like “flattich” speaker frequency response without further frequency response of RPi tweaking very questionable. However for unused Sonos I do not understand as going via DAC twice makes no sense. I will be posting something more advanced shortly that will use Sonos DAC and remove a lot of old Sonos HW limitations.
Frank Smith
If you are still planning to do this or have already done it, I would be very interested to see your results. Thanks!
Comments are closed