Pi-Sky flight-tracking dashboard
Pi Towers was eerily quiet this Maker Monday, as we were all enjoying a Bank Holiday weekend here in the UK… so, we’ve made the executive decision to celebrate on a Tuesday instead. Let’s dig into this excellent tutorial by James Mitchell, showing you how to build a local flight-tracking dashboard on Raspberry Pi with live maps, history, and replay.
Ever looked up and wondered where that plane you spotted is going to or where it came from? Commercial flight trackers show aircraft worldwide, but depending on how much data you want or how much you’re willing to pay, having live usable data in hand can be rare. With a Raspberry Pi and an ADS-B 1090MHz receiver, builders can decode those open radio broadcasts from nearby aircraft and can spy into what is going on overhead.

What aircraft transmit and how we receive it
ADS-B stands for Automatic Dependent Surveillance Broadcast. Most modern aircraft broadcast ADS-B on 1090MHz in short bursts, several times per second, carrying an ICAO hex address (an identification number assigned to a specific aircraft), a callsign (air traffic control identifier for aircraft – for example, RYR3EM), GPS position, altitude, speed, track, vertical rate, and squawk code. However, what is not sent in the broadcast is what type of aircraft it is, where the flight came from, where it’s going, when it departed, or will arrive.
Typically when you use an app like FlightAware or Flightradar24, the flights you are seeing are collected from a network of 1090MHz receivers from all over the world as well as the data from flight providers. It’s hard to say the percentage, but receivers can be from enthusiasts, air traffic control, adjacent institutions, or even governments.
Any receiver within roughly 100 to 250km can pick up the 1090MHz broadcast from aircraft; it depends on the altitude of the flight, the antenna type in use (indoor or outdoor), and surrounding terrain.
Build your own receiver
Generally speaking, any modern Raspberry Pi computer with USB and networking can be used as a base to build your own receiver. But you might want to place your receiver outside and that’s where power and size become a consideration.
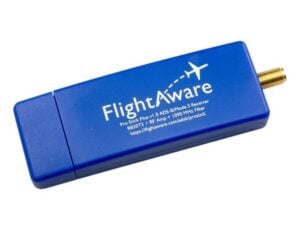
You will need a compatible USB receiver tuned to 1090MHz; e.g, the FlightAware Stick, FlightAware Pro Stick, Airspy Mini, or RTL-SDR Blog V3 or V4. Typically these receivers feed a decoder software: dump1090, which publishes JSON at a local URL such as /data/aircraft.json. There are a few generic RTL-SDR dongles out there, but as long as they remain compatible with the dump1090 software, they should work on Raspberry Pi OS.
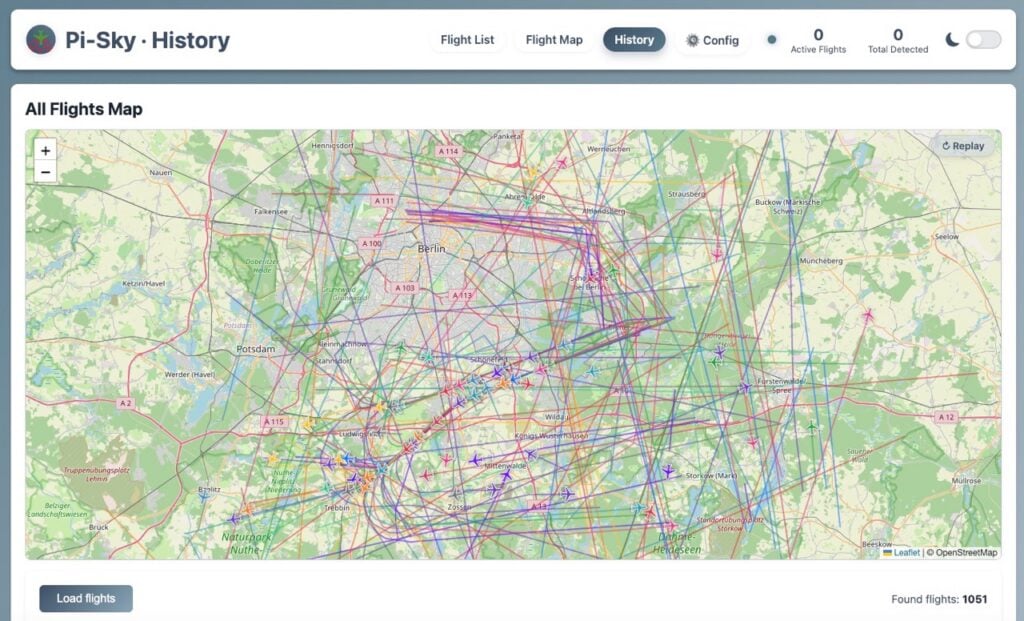
Replay an entire day’s worth of flights all at once
When you consider which USB stick you want to use, it’s worth noting whether they have built-in filters or come with antennas with filters connected. Filters are important to block unwanted radio noise and, in addition to the antenna placement (the higher the better), this can improve the range in which the aircraft can be detected.
It’s recommended to use the FlightAware Pro Stick Plus. FlightAware’s Raspberry Pi packages are mature, regularly updated, and widely documented. The Pro Stick Plus in particular combines receiver and filtering in one unit. There is an option to upload your data to FlightAware’s network, meaning you become an Enterprise Subscriber and can have an ad-free experience to its FlightAware app.
Introducing Pi-Sky
Pi-Sky is a single Python application and web server that reads the dump1090 data, enriches that data through public APIs, and streams live JSON to a connected browser. Everything runs locally, so you have control of the data.
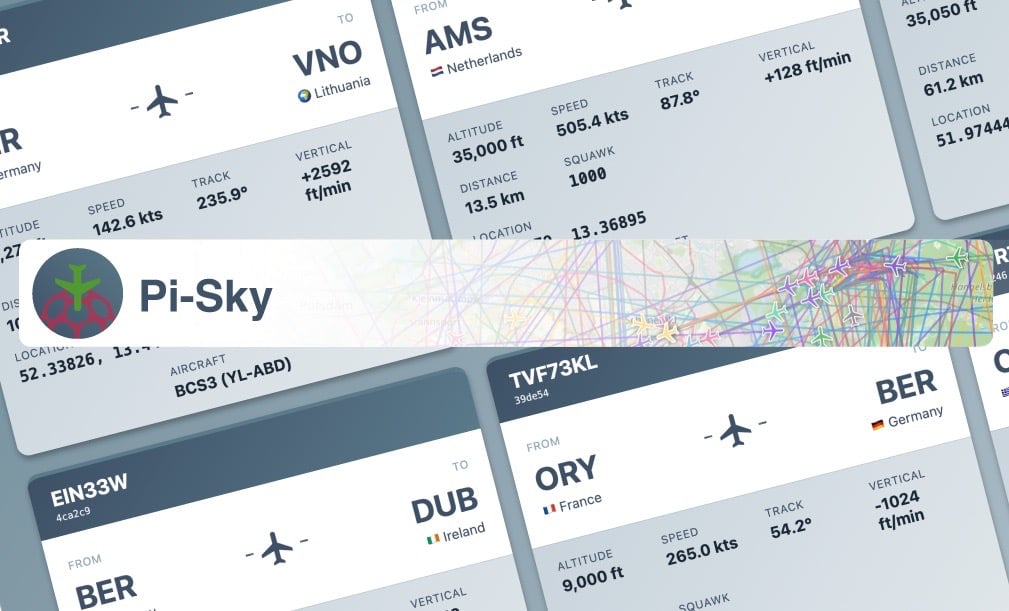
Pi-Sky features
Here are some features to be found in Pi-Sky:
Flight list: Card-style list of flights detected by your receiver, with route details and airline logos. An optional split-flap display shows the latest flight in an airport departure-board style.
Flight map: Live local map of detected aircraft as plane icons. Click a flight for details and follow it on the map.
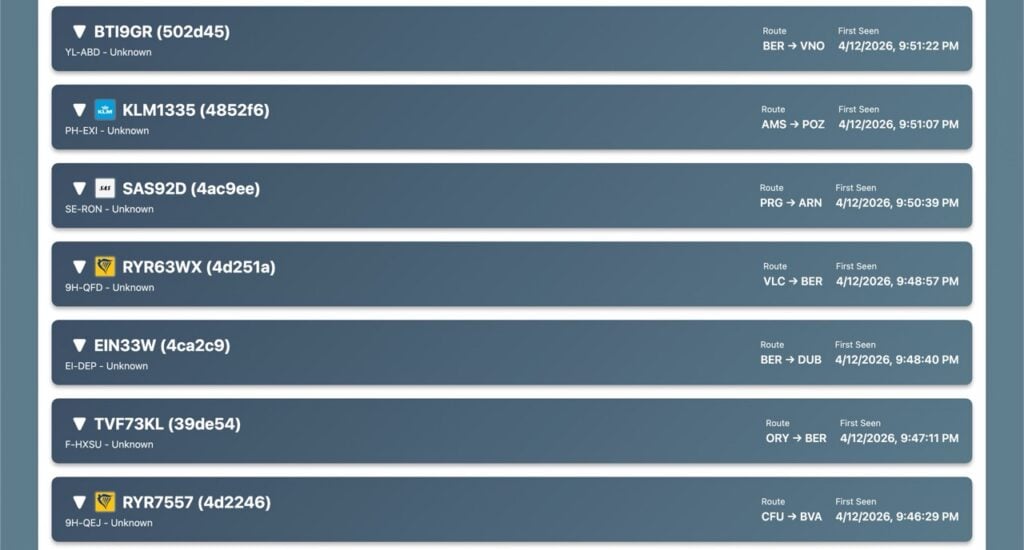
History: Received flight data is stored in SQLite (for how long is configurable – the default is seven days). On the history page you can replay flights on a map, browse individual flights with mini maps and photos of the aircraft, and filter by date, route, aircraft type, and model.
Enrichment: ADS-B only gives a quick snapshot of each aircraft. Pi-Sky uses free APIs to fill in (enrich) route information, aircraft type, registration, and airport details where available.
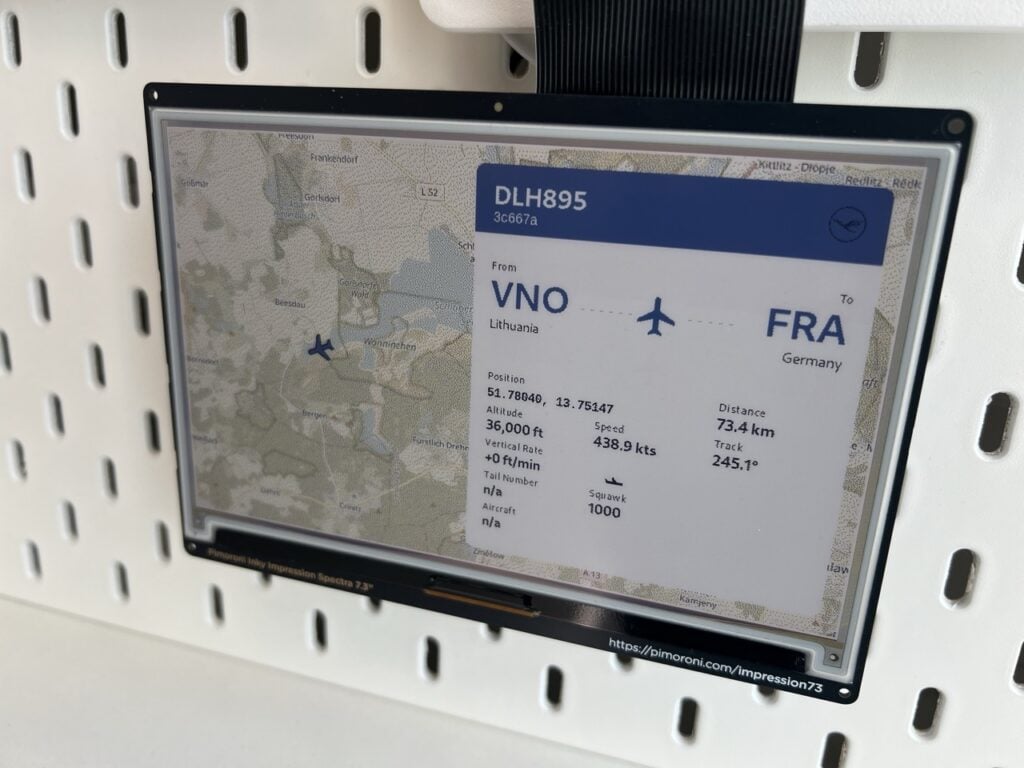
Pimoroni Inky e-ink support: Show a small map and flight card on a connected Inky display.
Enrichment data and where it comes from
Pi-Sky uses adsb.lol to fill in details that ADS-B broadcasts do not include. Adsb.lol is built by aviation enthusiasts and other contributors who share receiver data into one central service, which maintains a database of flight routes. It offers free API access, including historical route data, with open terms of service. If you want to support the project, you can feed your own receiver data to adsb.lol separately, or donate via its website.
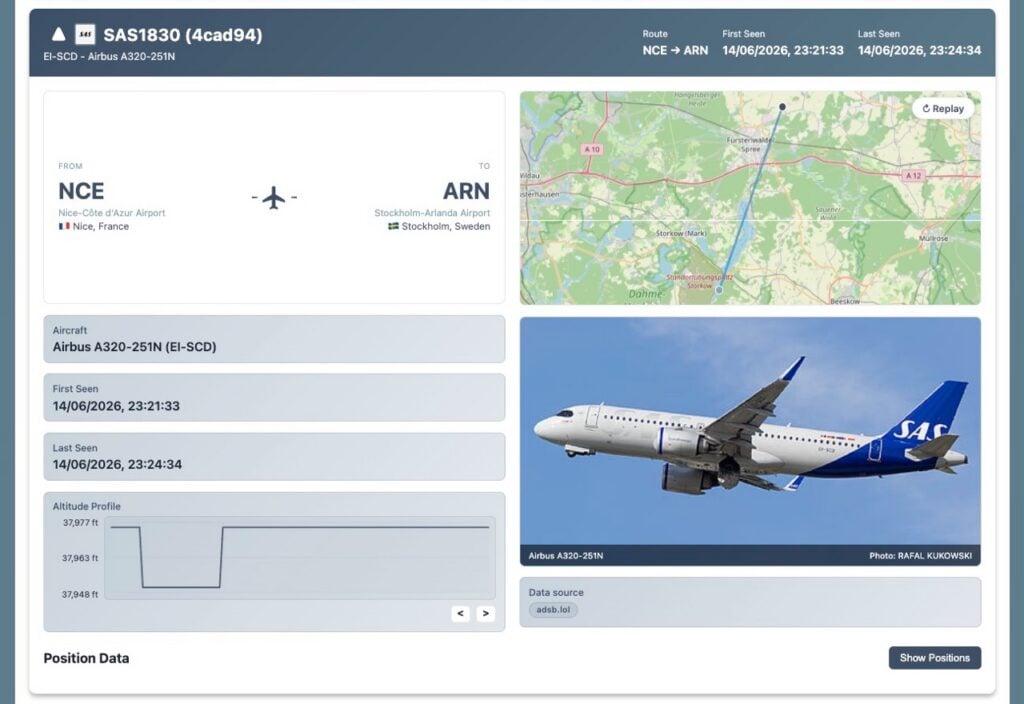
When your receiver detects an aircraft, Pi-Sky stores positions in its local SQLite database (if enabled). If the aircraft has a callsign and a GPS position, Pi-Sky asks adsb.lol whether it knows the route information: origin and destination. That works well for regular airline flights that appear often in the historical database. It is less reliable for one-off flights such as private, military, rescue, or police traffic. Any enrichment Pi-Sky receives is saved locally with the flight record.
The adsb.lol service usually returns airport codes such as BER, EDDB, or STN. Pi-Sky then uses the OpenFlights airport database to turn those into readable names: for example, EDDB (or BER) becomes Berlin Brandenburg, while STN becomes London Stansted.
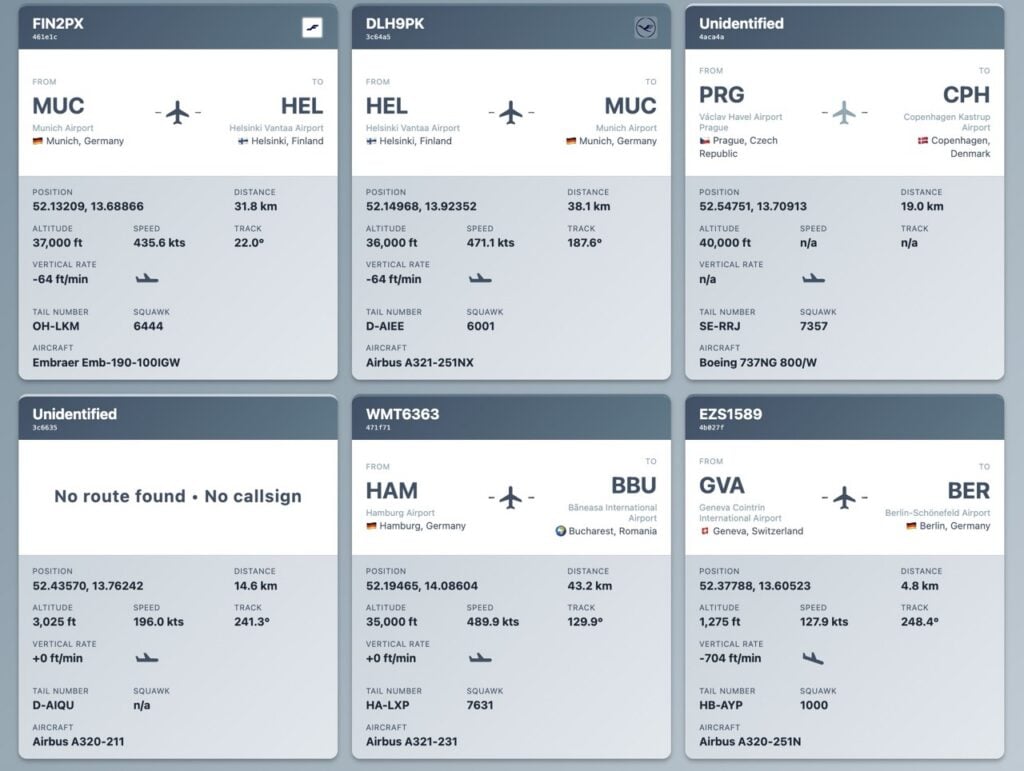
For aircraft details, Pi-Sky looks up the ICAO hex address via adsb.lol to find registration, type, and model when available. There is also an optional offline Mictronics aircraft database you can upload in Pi-Sky’s settings; it is indexed by ICAO address and can fill in missing manufacturer, type, model, and registration fields.
In the History page, Pi-Sky can show an aircraft photo when a registration is known. It tries PlaneSpotters.net first, then falls back to the Wikimedia Commons API.
It is a patchwork of free public sources, and it is not perfect but that is also why Pi-Sky can exist without paid flight-data subscriptions.
What about OpenSky Network?
With a Google search for flight-tracking APIs you might find OpenSky Network: opensky-network.org is at the top of the list. Like adsb.lol, OpenSky is built from crowdsourced ADS-B data and offers APIs. In principle, Pi-Sky could use OpenSky for enrichment, but there are important caveats.
The site states: “Free access to full dataset is granted only to research institutions, aviation authorities, governments, and non-profits not for personal use.” Digging deeper into OpenSky’s terms of use licence, data is again stated primarily for non-profit research and education. More importantly, for Pi-Sky as an always-on flight tracker, it would still require a written licence, even for non-commercial use. Commercial or for-profit use also requires a separate agreement.
If you do use OpenSky data in published work, its terms require proper citation. API access is token-based (OAuth2), with credit limits on most endpoints meaning it’s possible to have a drop in service. For a self-hosted hobby project, adsb.lol is the better fit: Pi‑Sky can query it freely when enriching flights.
Installation and configuration
The build starts with a fresh Raspberry Pi OS image written using Raspberry Pi Imager. Once your Raspberry Pi has booted, open a terminal window.
You can install Pi-Sky by cloning this GitHub repository and following the instructions in its README.md file:
$ git clone https://github.com/monkeymademe/pi-skyAlternatively, Pi-Sky can also be installed with a one-line installer that handles all the requirements: it adds FlightAware’s APT repository, installs dump1090-fa, clones Pi-Sky to /home/pi/pi-sky, creates the Python virtual environment, writes config.json and registers systemd services so both dump1090 and Pi-Sky start automatically at boot.
Before you run the installer, connect the ADS-B USB stick.
$ curl -fsSL https://raw.githubusercontent.com/monkeymademe/pi-sky/main/install.sh | sudo bash
When the script finishes, it prints the local map URL, typically http://<pi-ip>:5050/.
Open that address in a browser on the same network to confirm it’s working. If no traffic is overhead yet, check that dump1090 is running with:
$ sudo systemctl status dump1090-faAlternatively, verify the JSON feed with curl:
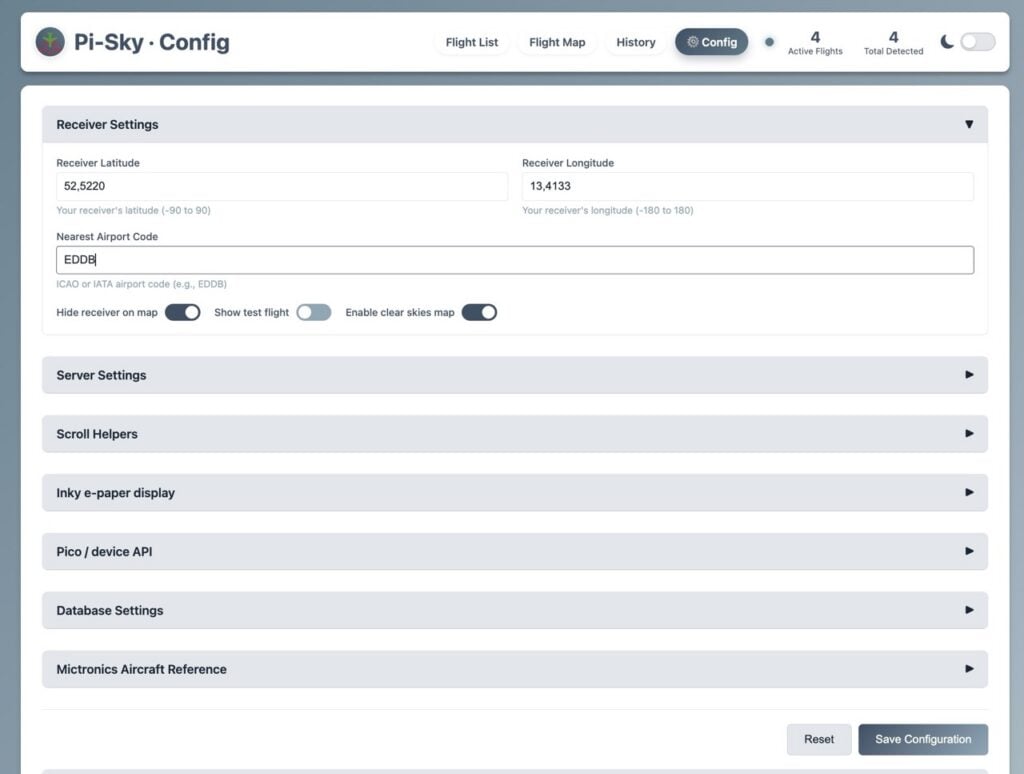
$ curl http://127.0.0.1:8080/data/aircraft.jsonFine-tuning happens through the web-based config page at /config.html.
It’s important to set the location of the receiver in the config (if you have Pi-Sky publicly available, you can hide the location from the map as well as lock the config). If you have an airport close by, you can enter it there (this helps with centring the map).
The next step
Pi-Sky’s superpower is storing all the flight data locally and it’s free for you to use to do whatever you want to do with it. Already baked in is the possibility to display some of that data on Pimoroni’s Inky e-ink display.
Find more projects like this in Raspberry Pi Official Magazine
You won’t find this build in the latest issue, however. It first featured in Raspberry Pi Official Magazine #168, which you can now read online for free.
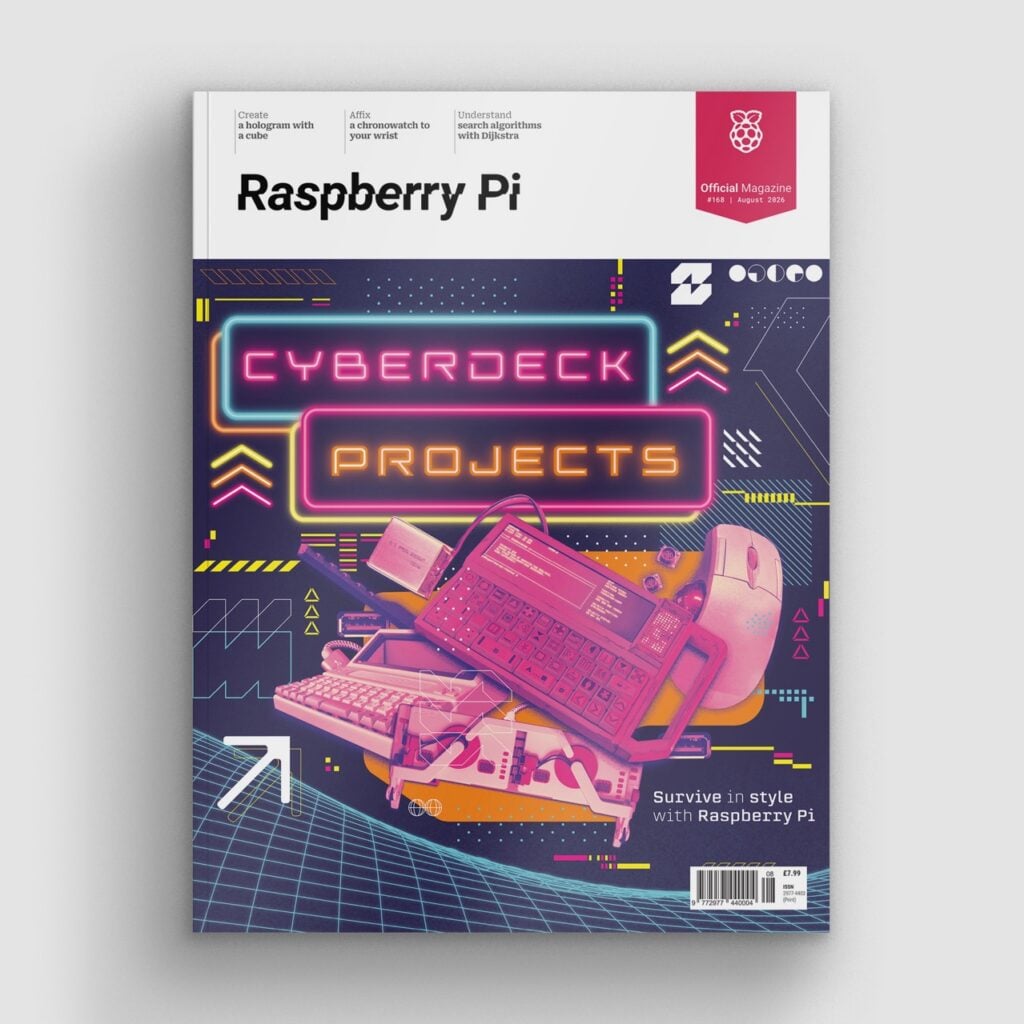
You can also subscribe to the print version of our magazine. Not only do we deliver worldwide, but those who sign up to the six- or twelve-month print subscription will receive a FREE Raspberry Pi Pico 2 W!
You can find Raspberry Pi Official Magazine on Facebook, X, Threads, LinkedIn, and Mastodon. You can also contact the team via email: [email protected]

No comments
Jump to the comment form