How to work from home with Raspberry Pi | The Magpi 93
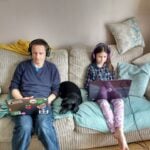
If you find yourself working or learning, or simply socialising from home, Raspberry Pi can help with everything from collaborative productivity to video conferencing. Read more in issue #92 of The MagPi, out now.
01 Install the camera
If you’re using a USB webcam, you can simply insert it into a USB port on Raspberry Pi. If you’re using a Raspberry Pi Camera Module, you’ll need to unpack it, then find the ‘CAMERA’ port on the top of Raspberry Pi – it’s just between the second micro-HDMI port and the 3.5mm AV port. Pinch the shorter sides of the port’s tab with your nails and pull it gently upwards. With Raspberry Pi positioned so the HDMI ports are at the bottom, insert one end of the camera’s ribbon cable into the port so the shiny metal contacts are facing the HDMI port. Hold the cable in place, and gently push the tab back home again.
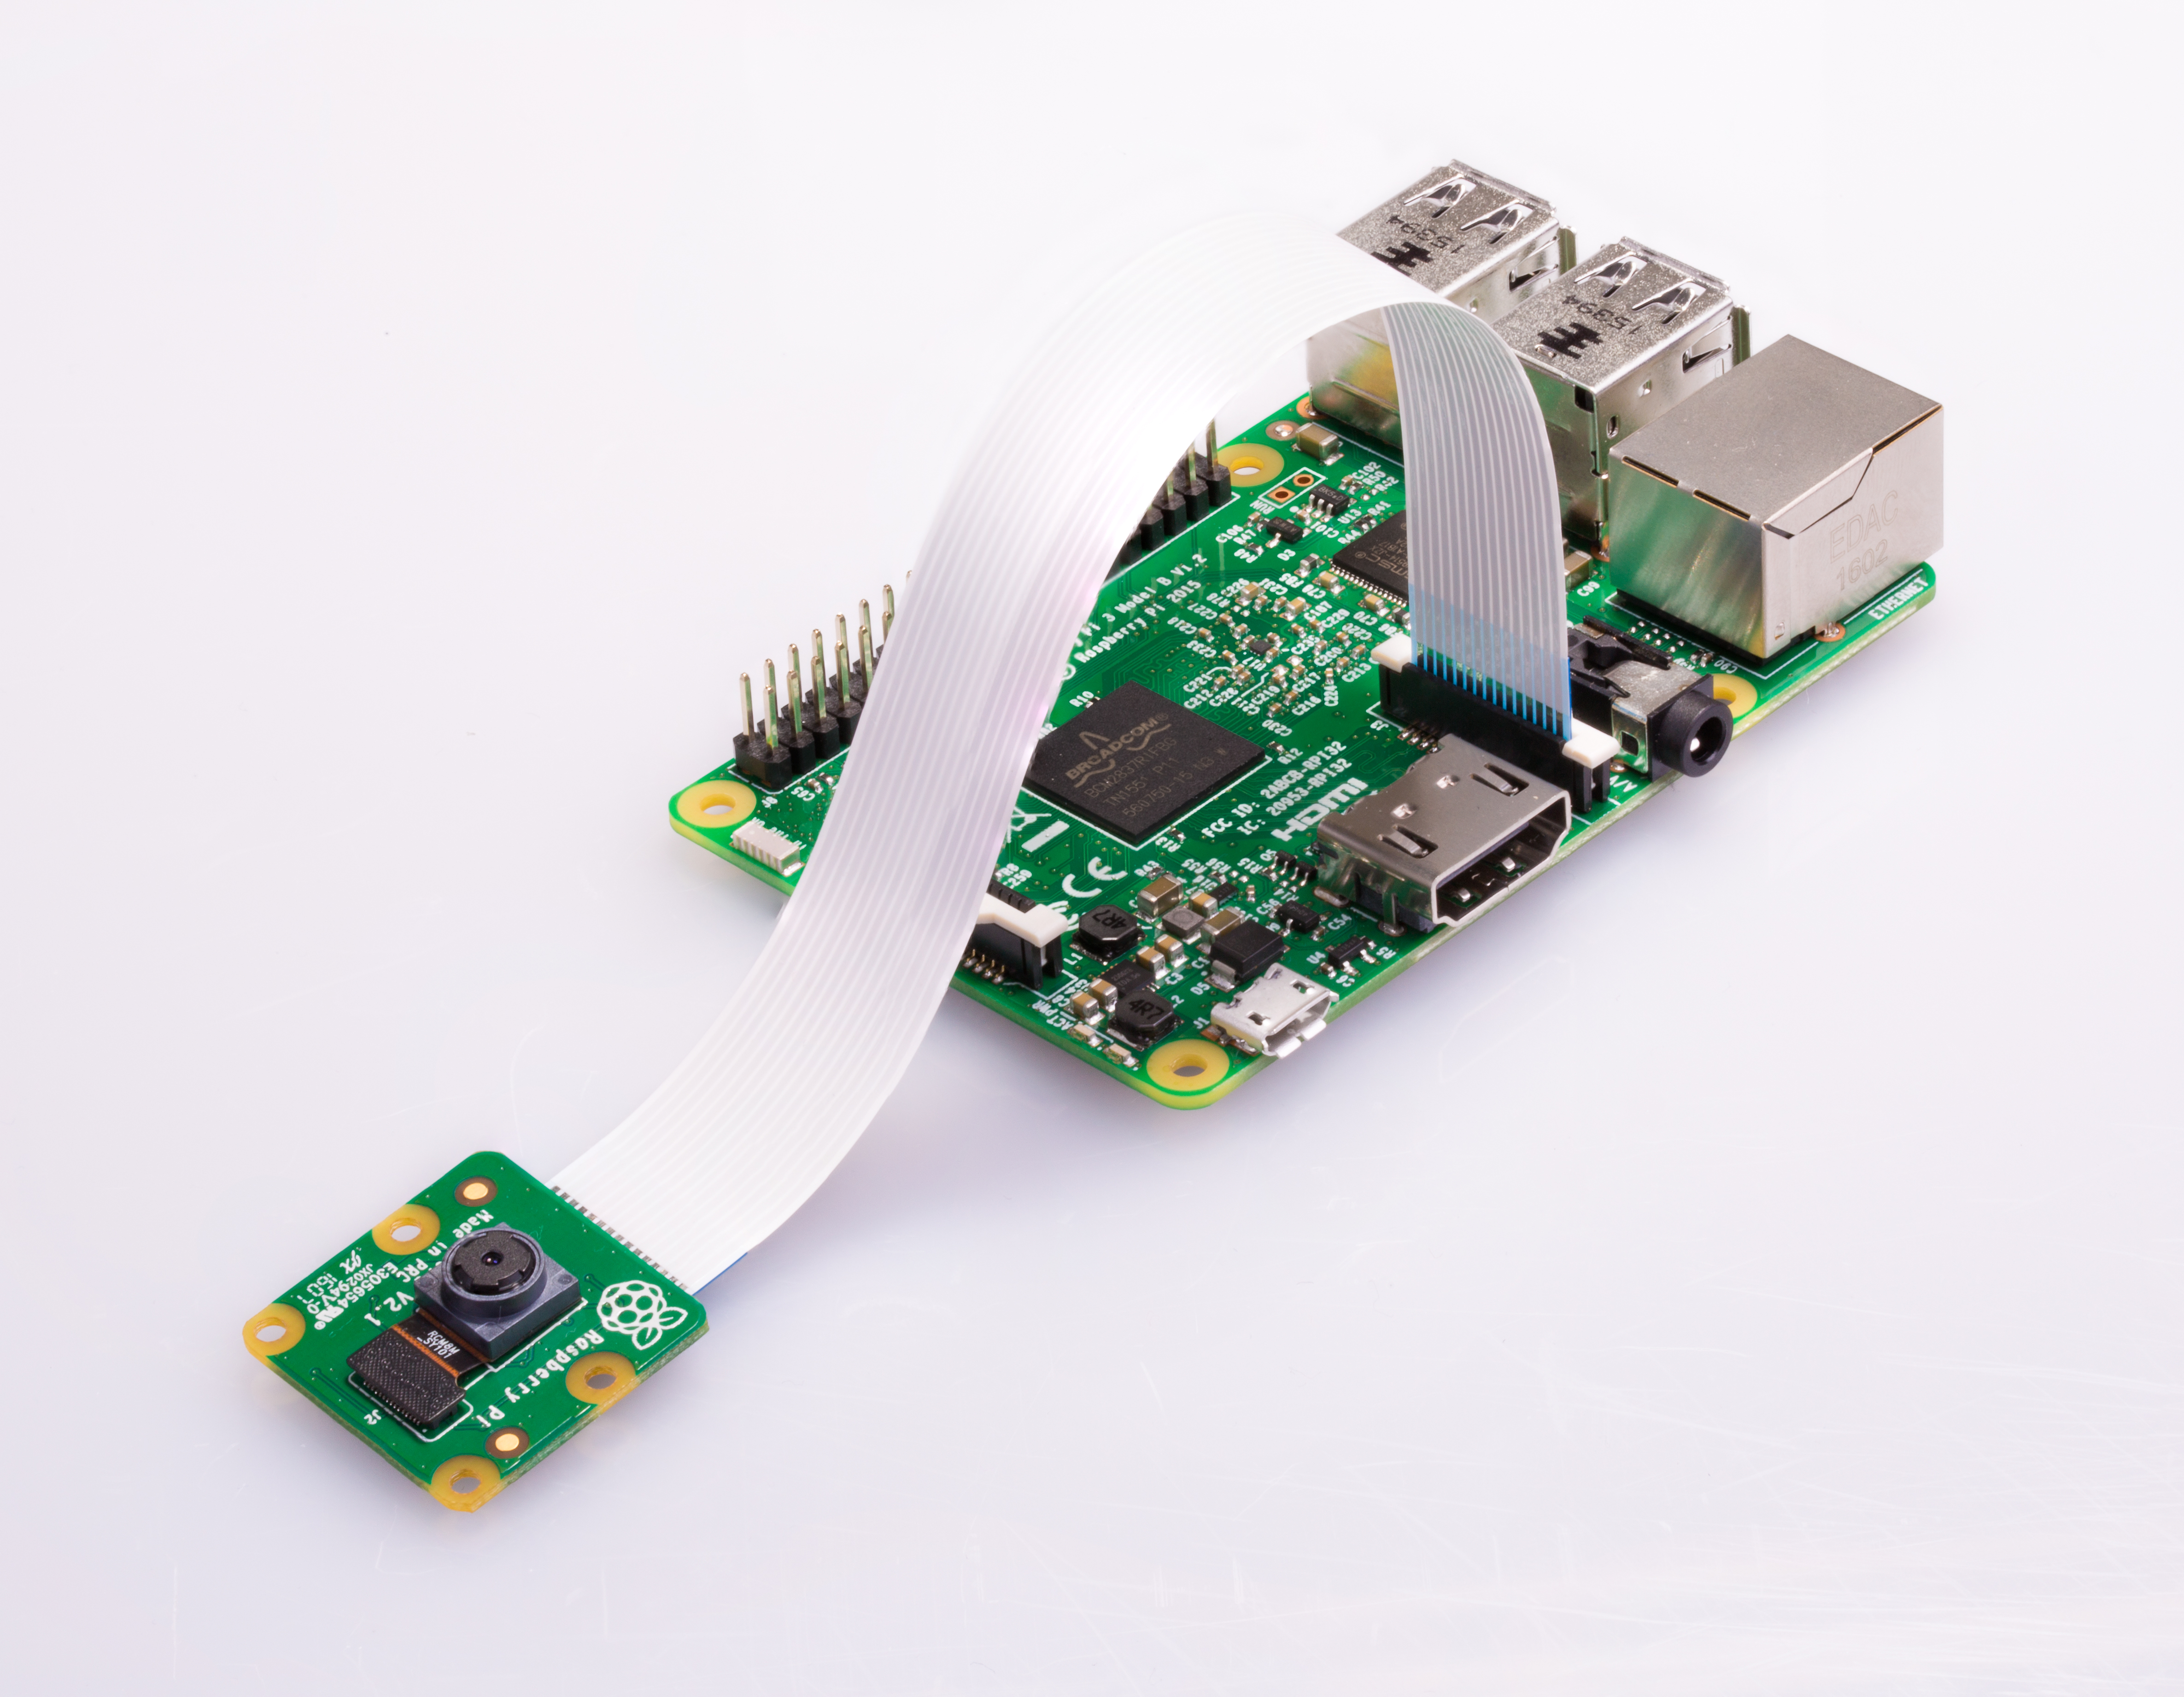
If the Camera Module doesn’t have the ribbon cable connected, repeat the process for the connector on its underside, making sure the contacts are facing downwards towards the module. Finally, remove the blue plastic film from the camera lens.
02 Enable Camera Module access
Before you can use your Raspberry Pi Camera Module, you need to enable it in Raspbian. If you’re using a USB webcam, you can skip this step. Otherwise, click on the raspberry menu icon in Raspbian, choose Preferences, then click on Raspberry Pi Configuration.
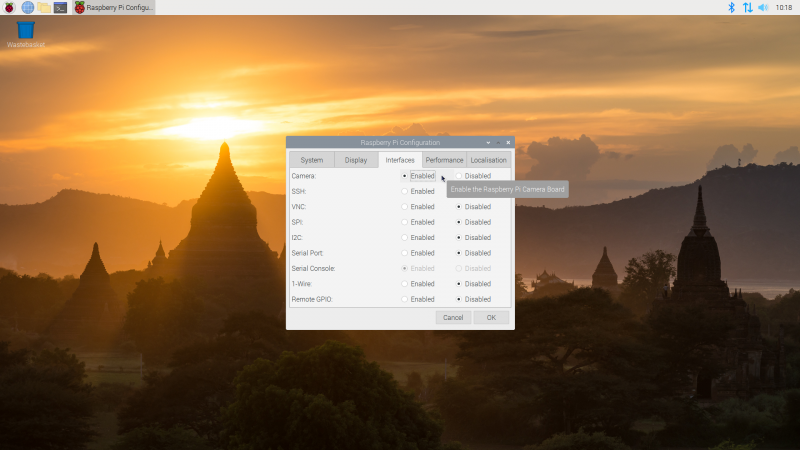
When the tool loads, click on the Interfaces tab, then click on the ‘Enabled’ radio button next to Camera. Click OK, and let Raspberry Pi reboot to load your new settings. If you forget this step, Raspberry Pi won’t be able to communicate with the Camera Module.
03 Set up your microphone
If you’re using a USB webcam, it may come with a microphone built-in; otherwise, you’ll need to connect a USB headset, a USB microphone and separate speakers, or a USB sound card with analogue microphone and speakers to Raspberry Pi. Plug the webcam into one of Raspberry Pi’s USB 2.0 ports, furthest away from the Ethernet connector and marked with black plastic inners.
Right-click on the speaker icon at the top-right of the Raspbian desktop and choose Audio Inputs. Find your microphone or headset in the list, then click it to set it as the default input. If you’re using your TV or monitor’s speakers, you’re done; if you’re using a headset or separate speakers, right-click on the speaker icon and choose your device from the Audio Outputs menu as well.
04 Set access permissions
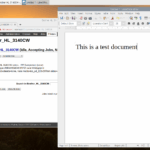
Click on the Internet icon next to the raspberry menu to load the Chromium web browser. Click in the address box and type hangouts.google.com. When the page loads, click ‘Sign In’ and enter your Google account details; if you don’t already have a Google account, you can sign up for one free of charge.
When you’ve signed in, click Video Call. You’ll be prompted to allow Google Hangouts to access both your microphone and your camera. Click Allow on the prompt that appears. If you Deny access, nobody in the video chat will be able to see or hear you!
05 Invite friends or join a chat
You can invite friends to your video chat by writing their email address in the Invite People box, or copying the link and sending it via another messaging service. They don’t need their own Raspberry Pi to participate – you can use Google Hangouts from a laptop, desktop, smartphone, or tablet. If someone has sent you a link to their video chat, open the message on Raspberry Pi and simply click the link to join automatically.
You can click the microphone or video icons at the bottom of the window to temporarily disable the microphone or camera; click the red handset icon to leave the call. You can click the three dots at the top-right to access more features, including switching the chat to full-screen view and sharing your screen – which will allow guests to see what you’re doing on Raspberry Pi, including any applications or documents you have open.
06 Adjust microphone volume
If your microphone is too quiet, you’ll need to adjust the volume. Click the Terminal icon at the upper-left of the screen, then type alsamixer followed by the ENTER key. This loads an audio mixing tool; when it opens, press F4 to switch to the Capture tab and use the up-arrow and down-arrow keys on the keyboard to increase or decrease the volume. Try small adjustments at first; setting the capture volume too high can cause the audio to ‘clip’, making you harder to hear. When finished, press CTRL+C to exit AlsaMixer, then click the X at the top-right of the Terminal to close it.
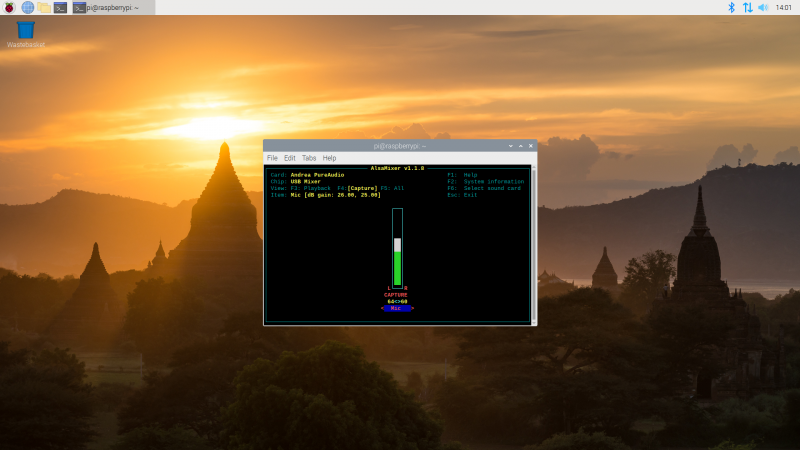
Adjust your audio volume settings with the AlsaMixer tool
Work online with your team
Just because you’re not shoulder-to-shoulder with colleagues doesn’t mean you can’t collaborate, thanks to these online tools.
Google Docs
Google Docs is a suite of online productivity tools linked to the Google Drive cloud storage platform, all accessible directly from your browser. Open the browser and go to drive.google.com, then sign in with your Google account – or sign up for a new account if you don’t already have one – for 15GB of free storage plus access to the word processor Google Docs, spreadsheet Google Sheets, presentation tool Google Slides, and more. Connect with colleagues and friends to share files or entire folders, and collaborate within documents with simultaneous multi-user editing, comments, and change suggestions.
Slack
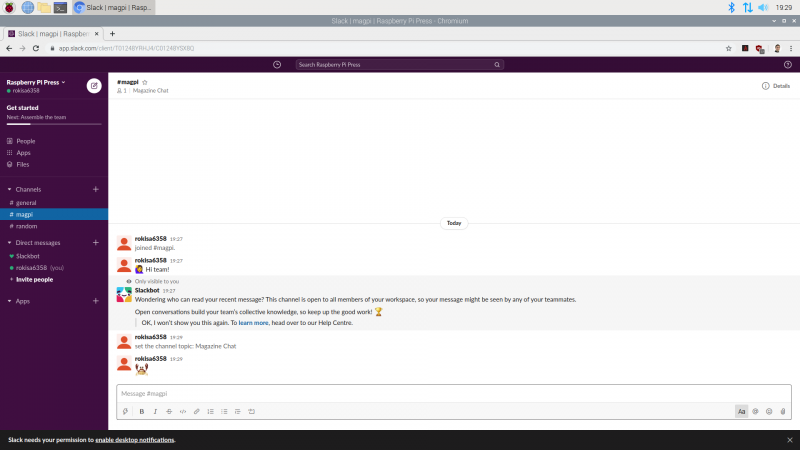
Designed for business, Slack is a text-based instant messaging tool with support for file transfer, rich text, images, video, and more. Slack allows for easy collaboration in Teams, which are then split into multiple channels or rooms – some for casual conversation, others for more focused discussion. If your colleagues or friends already have a Slack team set up, ask them to send you an invite; if not, you can head to app.slack.com and set one up yourself for free.
Discord
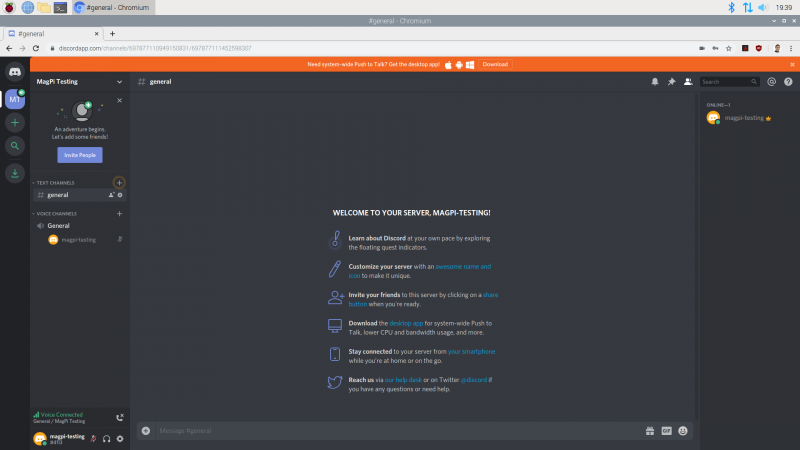
Built more for casual use, Discord offers live chat functionality. While the dedicated Discord app includes voice chat support, this is not yet supported on Raspberry Pi – but you can still use text chat by opening the browser, going to discord.com, and choosing the ‘Open Discord in your browser’ option. Choose a username, read and agree to the terms of service, then enter an email address and password to set up your own free Discord server. Alternatively, if you know someone on Discord already, ask them to send you an invitation to access their server.
Firefox Send
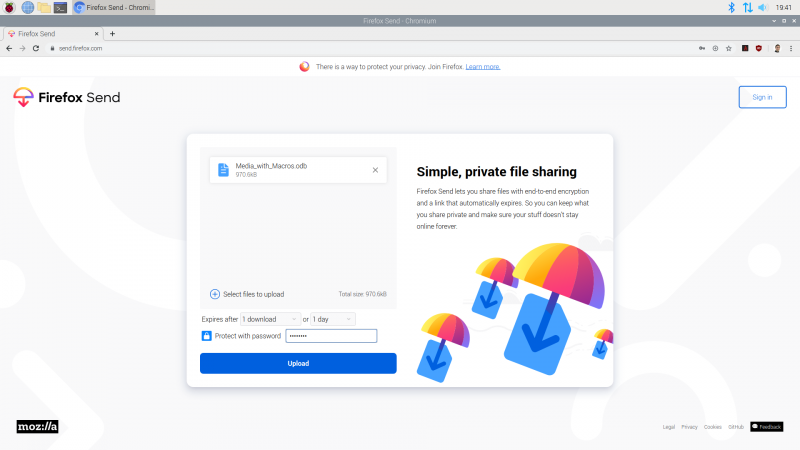
If you need to send a document, image, or any other type of file to someone who isn’t on Google Drive, you can use Firefox Send – even if you’re not using the Firefox browser. All files transferred via Firefox Send are encrypted, and can be protected with an optional password, and are automatically deleted after a set number of downloads or length of time. Simply open the browser and go to send.firefox.com; you can send files up to 1GB without an account, or sign up for a free Firefox account to increase the limit to 2.5GB.
GitHub
For programmers, GitHub is a lifesaver. Based around the Git version control system, GitHub lets teams work on a project regardless of distance using repositories of source code and supporting files. Each programmer can have a local copy of the program files, work on them independently, then submit the changes for inclusion in the master copy – complete with the ability to handle conflicting changes. Better still, GitHub offers additional collaboration tools including issue tracking. Open the browser and go to github.com to sign up, or sign in if you have an existing account, and follow the getting started guide on the site.
Read The MagPi for free!
Find more fantastic projects, tutorials, and reviews in The MagPi #93, out now! You can get The MagPi #93 online at our store, or in print from all good newsagents and supermarkets. You can also access The MagPi magazine via our Android and iOS apps.
Don’t forget our super subscription offers, which include a free gift of a Raspberry Pi Zero W when you subscribe for twelve months.
And, as with all our Raspberry Pi Press publications, you can download the free PDF from our website.

15 comments
Harry Hardjono
I think that you’re doing a huge disservice to your readers for saying Mac or PC required for writing SD card images (p35). I don’t have PC and I did it using dd. Of course, that was 6 hours after an extremely frustrating experience trying to get the Rpi-imager since it wasn’t in noobs sd card included in your desktop kit! To make matter worse, there is absolutely no documentation about it whatsoever, including in this magpi magazine that, in fact, it is easily available in the repository under the name “rpi-imager”. All you had to do is put a single sentence saying so, and you would have saved me 6 hours of frustration! But I’m stubborn. How many people will give up on step one, when it is so easily done?
Another line saying cards greater than 32GB is formatted using exfat, which RaspbianOS cannot read but pose no problem in writing it, would have been also greatly appreciated. Wasted 2 hours on that alone.
A whole day wasted on what is supposedly a plug and play kit when 2 simple sentences could have avoided the extremely unpleasant experience?
Words fail me. 0_0 orz
Raspberry Pi Staff Lucy Hattersley
Oh well done. Using DD to flash an SD Card is no mean feat for a beginner.
That’s why we don’t advise it and have moved towards the new Raspberry Pi Imager too. You’re right though, it needs a PC or Mac. What did you use, out of interest?
Ben Simmons
I’m not sure about this, but Harry Hardjono might be trying to use a Raspberry Pi. Why didn’t you make an armhf .deb option for the Raspberry Pi Imager so that it cam be installed on a Raspberry Pi? It would help a lot of people to be able to easily flash SD cards from a Raspberry Pi without having to use dd or find a different computer. You already have a file for Debian or Ubuntu, so why not Raspbian?
Harry Hardjono
Ben, did you check the repository? It’s already there! Do you know what the name is? Nobody knows! That’s my point. *Nobody knows it’s already there* . Anyway, my post gives you the exact name. 2 matches is much better than hundreds!
Harry Hardjono
I think I made it clear that you *don’t* need a PC. What should happen:
1. Put NOOBS in Raspi. Turn it on. Configure it properly.
2. Connect to Internet. Set it up as necessary.
3. Add Rpi-imager from repository. See Add/Remove program from menu
4. Now you have an imager Raspbian version, instead of Ubuntu version that does not work. Mine is located just above SD Copier, which also works to write the proper file system onto the SD card.
5. Use the imager to burn Raspian. I think that you can use the zip files directly, no need to unzip.
6. Turn off Raspi, and Swap NOOBS with newly written OS. Turn it back on. Configure it.
Done. Most of the wasted time is spent looking at the repository entries for the exact name of the SD card imager. Too many false hits, there. I wonder why the Foundation keeps the information hidden? It took me a whole lot of digging in order to find it!
Note: if you use SD copier, then you have a copy of NOOBS, with all the settings intact. Good for back up, but not so good if you want to start fresh with the latest OS.
Steve
Looks like the link to the free download (at the very end of the article) points to issue 92 — last month’s issue. Thought you guys might want to fix that! :-D
Raspberry Pi Staff Ashley Whittaker — post author
D’oh. Fixed – thanks!
Seaton
Not quite – The link text still reads as issue 92 !
Raspberry Pi Staff Ashley Whittaker — post author
Double d’oh ?♀️
Chris Arnott
In the interests of promoting FOSS over google et al. I’d really recommend meet.jit.si for video conferencing. No registration or time limits, works from a browser on a desktop or a simple app for apple/android.
James Carroll
Thank you for that!
Phil
Why promote Google’s proprietary videoconferencing when Jitsi provides the same functionality described here and is free for anyone to use, examine, modify, and share? The maintainers run a conference bridge that is available for all without any registration or the tracking that comes with it, at https://meet.jit.si/, where one can start a browser-based video chat immediately.
Paulo H. de Medeiros
I find it frustrating that the hardware isn’t well supported. It’s fairly naive to assume the Raspberry can be used as a desktop. To list a few issues: there is this absurd amount of screen tearing that no one bothers to acknowledge and work on a fix; the already super basic and under developed GPU drivers work exclusively on Raspbian OS, try Ubuntu, for example, and hardware acceleration for video is gone for good, not to mention the bare-bones OpenGL ES support; Raspbian is 32-bits only, further limiting the already limited ARM software available; an SD Card is mandatory for boot… I mean, the list goes on and on. The way I see it, it’s irresponsible for a company/organization/foundation to release a product and constantly market it as something it just cannot be due to the humongous lack of solid first party development.
random guy
Raspberry Pi’s mission is to “make computing and digital making accessible to all through providing low-cost, high-performance single-board computers and free software.” This is a hobbyist machine. A fair amount of tinkering is not just expected, but the way you’re intended to learn. Documentation can always be more thorough, but it’s ridiculous to scold a charity because you had to tinker with a $35 machine.
Additionally, Raspberry Pi is not shilling Google, Slack, etc., they are showing readers, whose workplaces already require the above services, how to participate while using a Pi. I think that’s admirable and shows they understand the reality of working from home. Wish I could say the same for some of the commenters.
Sharad kumar maltare
Great, excited. I did. Raspberry pi 4, it is going more frequently in to power throttle. Attaching many things on USB, it needs power. Please share, how to supplemente extra power. I m waiting.
Comments are closed