Spooktacular Halloween Haunted Portrait
October has come at last, and with it, the joy of Halloween is now upon us. So while I spend the next 30 days quoting Hocus Pocus at every opportunity, here’s Adafruit’s latest spooky build … the spooktacular Haunted Portrait.
Haunted Portraits
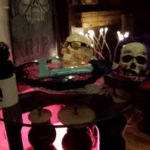
If you’ve visited a haunted house such as Disney’s Haunted Mansion, or walked the halls of Hogwarts at Universal Studios, you will have seen a ‘moving portrait’. Whether it’s the classic ‘did that painting just blink?’ approach, or occupants moving in and out of frame, they’re an effective piece of spooky decoration – and now you can make your own!
Adafruit’s AdaBox
John Park, maker extraordinaire, recently posted a live make video where he used the contents of the Raspberry Pi-themed AdaBox 005 to create a blinking portrait.
The Adabox is Adafruit’s own maker subscription service where plucky makers receive a mystery parcel containing exciting tech and inspirational builds. Their more recent delivery, the AdaBox 005, contains a Raspberry Pi Zero, their own Joy Bonnet, a case, and peripherals, including Pimoroni’s no-solder Hammer Headers.
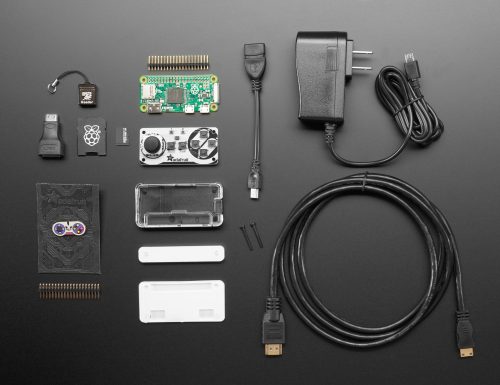
While you can purchase the AdaBoxes as one-off buys, subscribers get extra goodies. With AdaBox 005, they received bonus content including Raspberry Pi swag in the form of stickers, and a copy of The MagPi Magazine.
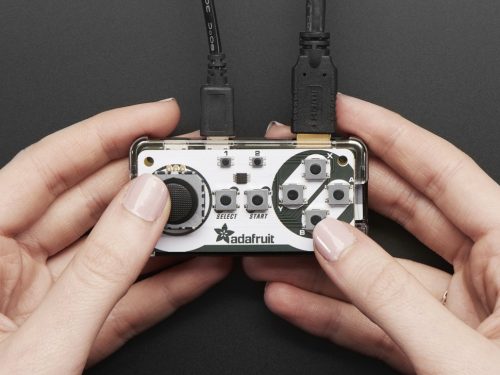
The contents of AdaBox 005 allows makers to build their own Raspberry Pi Zero tiny gaming machine. But the ever-working minds of the Adafruit team didn’t want to settle there, so they decided to create more tutorials based on the box’s contents, such as John Park’s Haunted Portrait.
Bringing a portrait to life
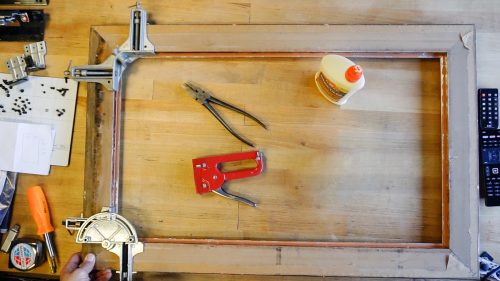
Alongside the AdaBox 005 content, all of which can be purchased from Adafruit directly, you’ll need a flat-screen monitor and a fancy frame. The former could be an old TV or computer screen while the latter, unless you happen to have an ornate frame that perfectly fits your monitor, can be made from cardboard, CNC-cut wood or gold-painted macaroni and tape … probably.
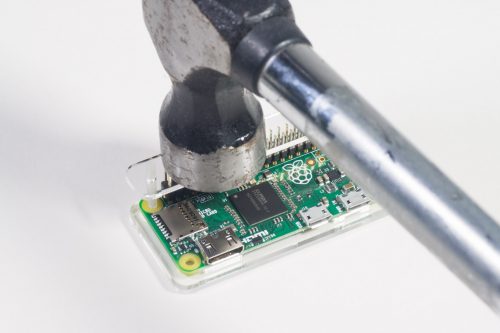
You’ll need to attach headers to your Raspberry Pi Zero. For those of you who fear the soldering iron, the Hammer Headers can be hammered into place without the need for melty hot metal. If you’d like to give soldering a go, you can follow Laura’s Getting Started With Soldering tutorial video.
In his tutorial, John goes on to explain how to set up the Joy Bonnet (if you wish to use it as an added controller), set your Raspberry Pi to display in portrait mode, and manipulate an image in Photoshop or GIMP to create the blinking effect.
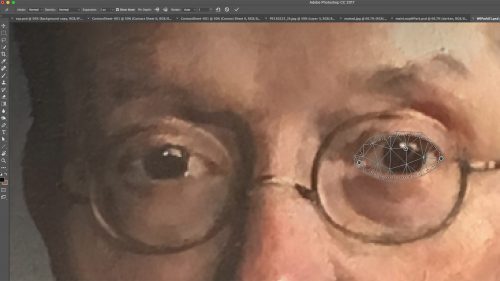
Blinking eyes are just the start of the possibilities for this project. This is your moment to show off your image manipulation skills! Why not have the entire head flash to show the skull within? Or have an ethereal image appear in the background of an otherwise unexceptional painting of a bowl of fruit?
In the final stages of the tutorial, John explains how to set an image slideshow running on the Pi, and how to complete the look with the aforementioned ornate frame. He also goes into detail about the importance of using a matte effect screen or transparent gels to give a more realistic ‘painted’ feel.
You’ll find everything you need to make your own haunted portrait here, including a link to John’s entire live stream.
Get spooky!
We’re going to make this for Pi Towers. In fact, I’m wondering whether I could create an entire gallery of portraits specifically for our reception area and see how long it takes people to notice …
… though I possibly shouldn’t have given my idea away on this rather public blog post.
If you make the Haunted Portrait, or any other Halloween-themed Pi build, make sure you share it with us via social media, or in the comments below.


No comments
Comments are closed