How to set up the Raspberry Pi AI Kit with Raspberry Pi 5
This guide will help you set up the Raspberry Pi AI Kit with your Raspberry Pi 5. This will enable you to run rpicam-apps camera demos using the Hailo AI neural network accelerator.

If you need help installing your AI Kit before we start, this guide provides step-by-step images of the process.

Prerequisites
For this guide, you will need the following:
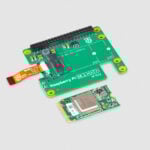
- a Raspberry Pi AI Kit, which includes:
- an M.2 HAT+
- a pre-installed Hailo-8L AI module
- a 64-bit Raspberry Pi OS Bookworm install
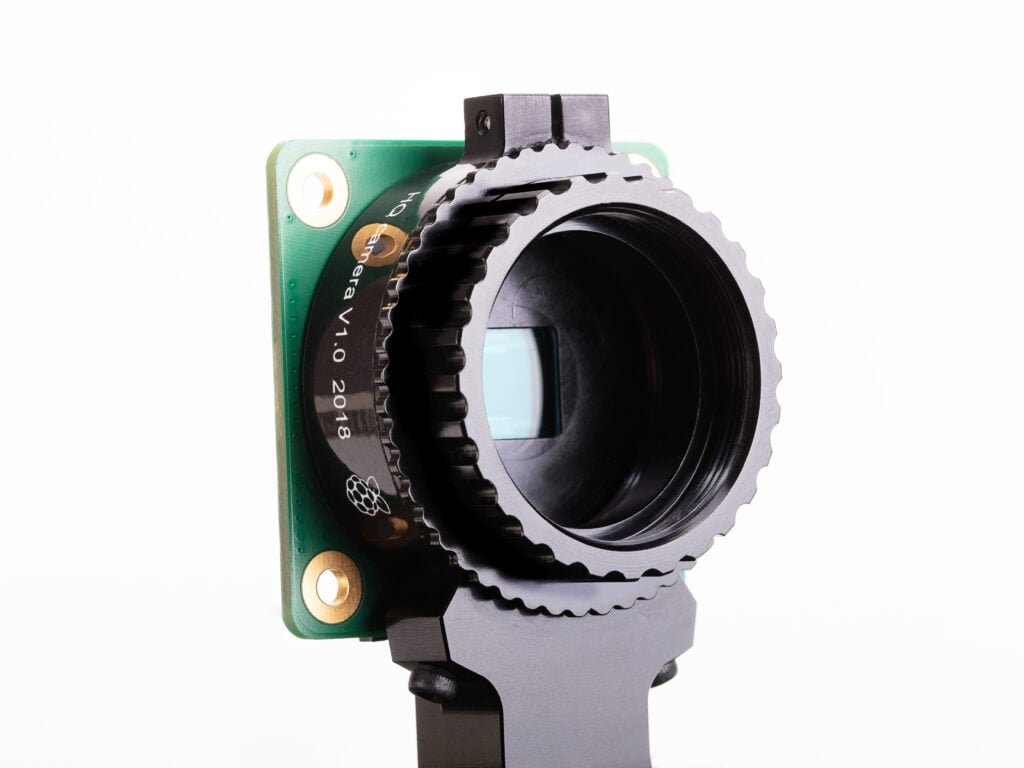
- any official Raspberry Pi camera (e.g. Camera Module 3 or High Quality Camera)

Hardware setup
1. Attach the camera to your Raspberry Pi 5 board following the instructions at Install a Raspberry Pi Camera. You can skip reconnecting your Raspberry Pi to power, because you’ll need to disconnect your Raspberry Pi from power for the next step.
2. Follow the installation instructions to get your AI Kit hardware connected to your Raspberry Pi 5.
3. Follow the instructions to enable PCIe Gen 3.0. This step is optional, but highly recommended to achieve the best performance with your AI Kit.
4. Install the dependencies required to use the AI Kit. Run the following command from a terminal window:
$ sudo apt install hailo-allThis installs the following dependencies:
- Hailo kernel device driver and firmware
- HailoRT middleware software
- Hailo Tappas core post-processing libraries
- The
rpicam-appsHailo post-processing software demo stages
5. Finally, reboot your Raspberry Pi with sudo reboot for these settings to take effect.
6. To ensure everything is running correctly, run the following command:
$ hailortcli fw-control identifyIf you see output similar to the following, you’ve successfully installed the AI Kit and its software dependencies:
Executing on device: 0000:01:00.0
Identifying board
Control Protocol Version: 2
Firmware Version: 4.17.0 (release,app,extended context switch buffer)
Logger Version: 0
Board Name: Hailo-8
Device Architecture: HAILO8L
Serial Number: HLDDLBB234500054
Part Number: HM21LB1C2LAE
Product Name: HAILO-8L AI ACC M.2 B+M KEY MODULE EXT TMP
Additionally, you can run dmesg | grep -i hailo to check the kernel logs, which should yield output similar to the following:
[    3.049657] hailo: Init module. driver version 4.17.0
[    3.051983] hailo 0000:01:00.0: Probing on: 1e60:2864...
[    3.051989] hailo 0000:01:00.0: Probing: Allocate memory for device extension, 11600
[    3.052006] hailo 0000:01:00.0: enabling device (0000 -> 0002)
[    3.052011] hailo 0000:01:00.0: Probing: Device enabled
[    3.052028] hailo 0000:01:00.0: Probing: mapped bar 0 - 000000000d8baaf1 16384
[    3.052034] hailo 0000:01:00.0: Probing: mapped bar 2 - 000000009eeaa33c 4096
[    3.052039] hailo 0000:01:00.0: Probing: mapped bar 4 - 00000000b9b3d17d 16384
[    3.052044] hailo 0000:01:00.0: Probing: Force setting max_desc_page_size to 4096 (recommended value is 16384)
[    3.052052] hailo 0000:01:00.0: Probing: Enabled 64 bit dma
[    3.052055] hailo 0000:01:00.0: Probing: Using userspace allocated vdma buffers
[    3.052059] hailo 0000:01:00.0: Disabling ASPM L0s
[    3.052070] hailo 0000:01:00.0: Successfully disabled ASPM L0s
[    3.221043] hailo 0000:01:00.0: Firmware was loaded successfully
[    3.231845] hailo 0000:01:00.0: Probing: Added board 1e60-2864, /dev/hailo0
7. To ensure the camera is operating correctly, run the following command:
$ rpicam-hello -t 10sThis starts the camera and shows a preview window for ten seconds. Once you have verified everything is installed correctly, it’s time to run some demos.
The documentation section on our website is full of guides, datasheets, and other useful information like this.
You can also visit our forums to get answers to specific question from our engineers and the wider Raspberry Pi community.

7 comments
Daniel
Very easy to install, AI identification works great, a bit sluggish but still impressive.
Gordon77
Works fine. Unfortunately the HATs seem to be in short supply at the moment.
Any news on Picamera2 integration ?
Tom
Is it possible to load and run common modals such as Llama on this yet ?
Timbolonius
Pretty cool you can do this, but what are the use cases?
gus3
Please. So many ideas for the Raspberry Pi model B (2012-02-29, I remember it well) had more than just “use cases” for this project. Eben et al. have seen this little “project” turn into so much more.
Gordon77
At present the main uses appear to be recognition with a camera, but l am sure options will increase in time.
I use it for recording videos of wildlife in the garden, but could be used for a security camera recognising people…
https://github.com/Gordon999/Pi_Hailo_Wildlife
hendrik
I like to build with the raspberry pi5 with hdmi input and hdmi output and wifi screens hare output
Wit python or hailo or whats need for detecting human animals and cars and with possible counting of how much people are in a given place
I hope someone can help me
I am living in the Netherlands zouth Holland but anyone who can help me with this will be great
Comments are closed