HackSpace magazine’s mince pie tutorial
HackSpace magazine editor Ben Everard shows you how to make Christmas’s most delicious treat.
Christmas is all about food and, if there’s one food that we can’t do Christmas without, it’s mince pies. These little sweet fruit delights are so emblematic of the season. However, too often we see sub-standard mince pies churned out by the million by supermarkets with more of an eye on shelf life and profit per unit than quality. In this article, we’re going to go through our technique for making mince pies that we’ve honed over a couple of decades.

Like all pies, the first important thing to get right is the filling. You can buy mincemeat, but we’ve never found any shop-bought mincemeat that’s particularly good. Good mincemeat should be mostly fruit with a rich syrupy sauce. If it’s mostly a vaguely spiced, unidentifiable brown spread, then we’d definitely recommend avoiding it. Fortunately, however, while you can’t buy good mincemeat, you can make your own.
The basic idea behind making mincemeat is to start with a spiced flavoursome liquid, and then use this to rehydrate some dried fruit. It’s really hard to give a recipe for this because it’s heavily dependent on moisture levels, and different batches of dried fruit suck up different amounts of liquid. You just have to play it by ear and adjust as you go.
A good starting point is a small bottle of wine – that’s just 187ml. You can swap this out for a roughly similar amount of fruit juice if you prefer. To that, add plenty of sugar.
This is one of those traditional recipes where ingredients are ‘whatever you have to hand’ rather than being strictly prescribed. Darker sugars add a great flavour, but don’t feel you have to get them just for this recipe. A glug of treacle, if you have some sitting on the back shelf of your store cupboard, can also taste great.
To this, you want to add some spices. The traditional spices include clove, nutmeg, allspice, and cinnamon. Fortunately, these all come in a blend called mixed spice, and we find it easier to use this. We also add an extra dollop of allspice because it’s a particular favourite of ours. About two teaspoons of mixed spice and one of allspice is a good starting point (we can add more/adjust later).
The next step is probably the only odd one in the process. It’s the only part that this author can remember from the original recipe he followed years ago, and it really does add quite a lot to the final product: grate in an apple. This should ideally be about half a cooking apple, but we didn’t have a cooking apple to hand, so we used an eating apple. Cooking apples will disintegrate completely into the sauce, whereas eating apples will (depending on the variety) stay a bit more solid. Either way, they add a lot of flavour and a bit of sharpness.

Now, heat the sauce as gently as possible. You want to cook in the spices and give the flavours time to mingle. Get it onto as low a boil as possible for about ten minutes. While it’s boiling away, it’s time to prepare the dried fruit.
Some form of dried grape is traditionally the main part of this – raisin, sultana, or currant – or a mix of lots of them. The other staple is citrus peel, usually in the form of mixed peel. However, you can add whatever you like. We’ve added apricots, and glacé cherries, but this author had good results with mango, dates, and figs (though this did add a slightly unusual texture from the seeds). Crystallised ginger can also taste delicious. Everything needs to be cut up to a small size – 5 mm-sized cubes are about right, but there’s no need to be too strict on this. Some people add chopped nuts – we’re really not fans of the texture of this, but if it works for you, go for it.
Once, when money was tight, this author bulked out the mix with finely chopped carrots. The mincemeat wasn’t quite as nice, but still pretty good. They do need a bit more cooking than dried fruit, and obviously don’t soak up as much liquid.

At this point, we should give quantities, but it’s basically impossible in this recipe. Dried fruit aren’t dried to a particular standard. Sometimes, you get little shrivelled raisins that can absorb huge quantities of liquid. Other times, they come out of the packet quite plump. The difference gets even starker when you’re adding different types of fruit. We’d recommend starting with a couple of handfuls of dried fruit. If you end up with too much liquid, you can chuck a bit more fruit in later.
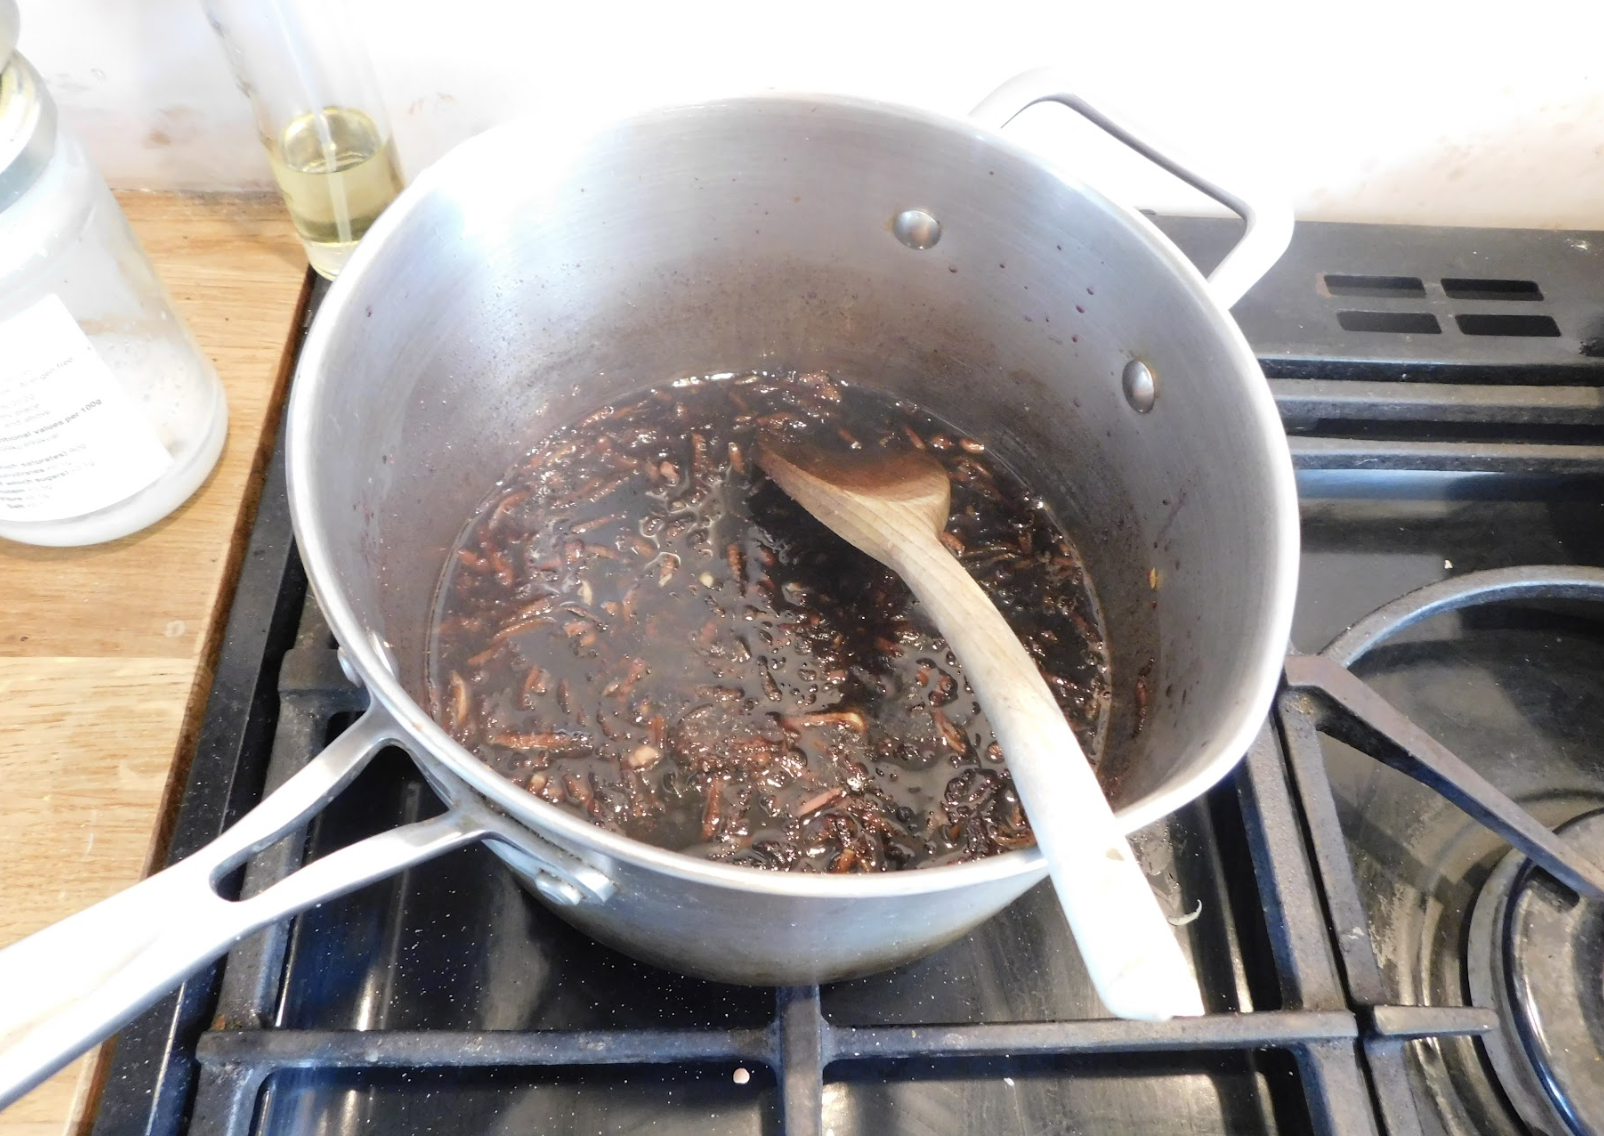
Now, add your fruit to the liquid. You want to keep this warm, but there’s a risk of burning as the fruit soaks up the liquid. Depending on how low your hob can go, it might be a good idea to turn off the heat and just give it occasional ‘blasts’.

Now is the point where you need to adjust the liquid levels. As the fruit soaks up the liquid, your mix should get drier and drier. A test for this is to pull a wooden spoon across the base of the pan. The goo should very slowly creep back into the line it scrapes. If it doesn’t, the mix is too dry. If it flows back in then the mix, it’s too runny (it’ll continue to thicken for the next few hours, so don’t worry too much if it’s too runny, but add more dried fruit if you’re concerned).
What liquid can you add? Whatever you have to hand! Wine, port, brandy, or fruit juice are all good options. We went with brandy and orange juice. At this point, you can also taste for spicing and sweetness. Add more of either if you think it needs it. Bear in mind that it’ll taste less sweet and spicy once it’s encased in pastry, so don’t be afraid to go hard.
Keep going with the gentle heat and liquid until the fruit feels mostly hydrated. This might be 30 minutes to an hour. After this, leave it to cool – it’ll still thicken a bit as it does.

Your final mincemeat should be runnier than what you find in most mince pies. Partly this is because it’ll thicken a bit as it cooks, and it’s also because commercial mince pies have to be kept dry to have a long shelf life. More moisture in them makes a more delicious pie, and ours all seem to disappear in a day or two anyway, so shelf life isn’t a big problem.
You can store the mincemeat in the fridge for a week or so, or freeze it if you want to keep it for longer.
Making pies
Now that we’ve got our filling, it’s time to make pies. This is just about the same as any other pie recipe. We always start with shop-bought shortcrust pastry. Homemade pastry might give a better result, but it’s one area of baking that this author has never been particularly successful with, and shop-bought works perfectly well.

We like to make the pastry as thin as possible. Commercial mince pies often have a thick crust to make them robust in shipping and have a long shelf life – neither of these things are a problem for us, so we’ll focus on taste instead. A thin, crispy shell gives a much better mouthfeel.
Roll it out, then cut out circles for your pie tray or muffin-tin. Fill these mostly (but not completely) full of mincemeat, then top them. Traditionally, mince pies are completely encased in pastry with just a little slit to let the steam out, but there’s no reason to stick to this. We like to do a bit of a mix, with some stars and some lattice. Any exposed fruit will caramelise slightly in the oven – mince pie purists may baulk at this, but we think it’s delicious.

Finally, bake in a 180 °C oven until done (slightly golden on top). Take the pies out of the tin straight away, and leave to cool.
Extra additions
We’ve described a fairly basic mincemeat recipe, but you can make it in all sorts of ways. As the name suggests, the Christmas treat originally contained meat. Some recipes include suet (shredded animal fat). This author isn’t personally a fan of this, but add it to the cooled mincemeat if you like.
A few other things we’ve tried in experiments over the years:
Chocolate – while the result tasted good, everything seems to be going chocolatey, especially at Christmas, so we keep this out of our recipe.
Soy sauce – we wanted a slight tweak on the traditional sweet and savoury mixture this pie originated with. The results were quite pleasant, but it’s perhaps telling that we haven’t continued with it.
Chilli – a little pinch to give a bit of background warmth can work well, if you like chilli. You will, however, forever become known as the person who adds chilli to mincemeat.


7 comments
Wei Lee
Yum, but no raspberry?
Raspberry Pi Staff Ashley Whittaker — post author
Should’ve added that as another optional twist. Fail.
Slartibartfast
Dust with icing sugar? And scoff with a Sherry or single variety Cider or Cidre.
Arthur Dent
On a more serious note.
Any chance of an update on Raspberry Pi availability? – Farnell has a back-order status of over a year on Pi4B.
The shipping rates have fallen dramatically and Dell has seen a drop off in demand for PC’s. I’m also seeing component availability has risen from manufacturers too.
Thanks.
Nicko
As the author points our, adding brandy to the mincemeat makes for a great flavour, but one thing I realised many years ago is that when you bake the pies all the alcohol evaporates. The solution I found is to get hold of a small syringe, and ideally a wide bore (19G or wider) hypodermic needle, and inject a small amount of extra brandy into the centre of the mince pie after baking. That way you can preserve all the goodness of the brandy in the final product!
Raspberry Pi Staff Liz Upton
I think I love you, internet stranger.
RJS
Few people in Florida have an appreciation for a great mincemeat pie so I make my own and share them with carefully selected friends.
Comments are closed