Code a Spectrum-style Crazy Golf game | Wireframe #54
Putt the ball around irrational obstacles in our retro take on golf. Mark Vanstone has the code
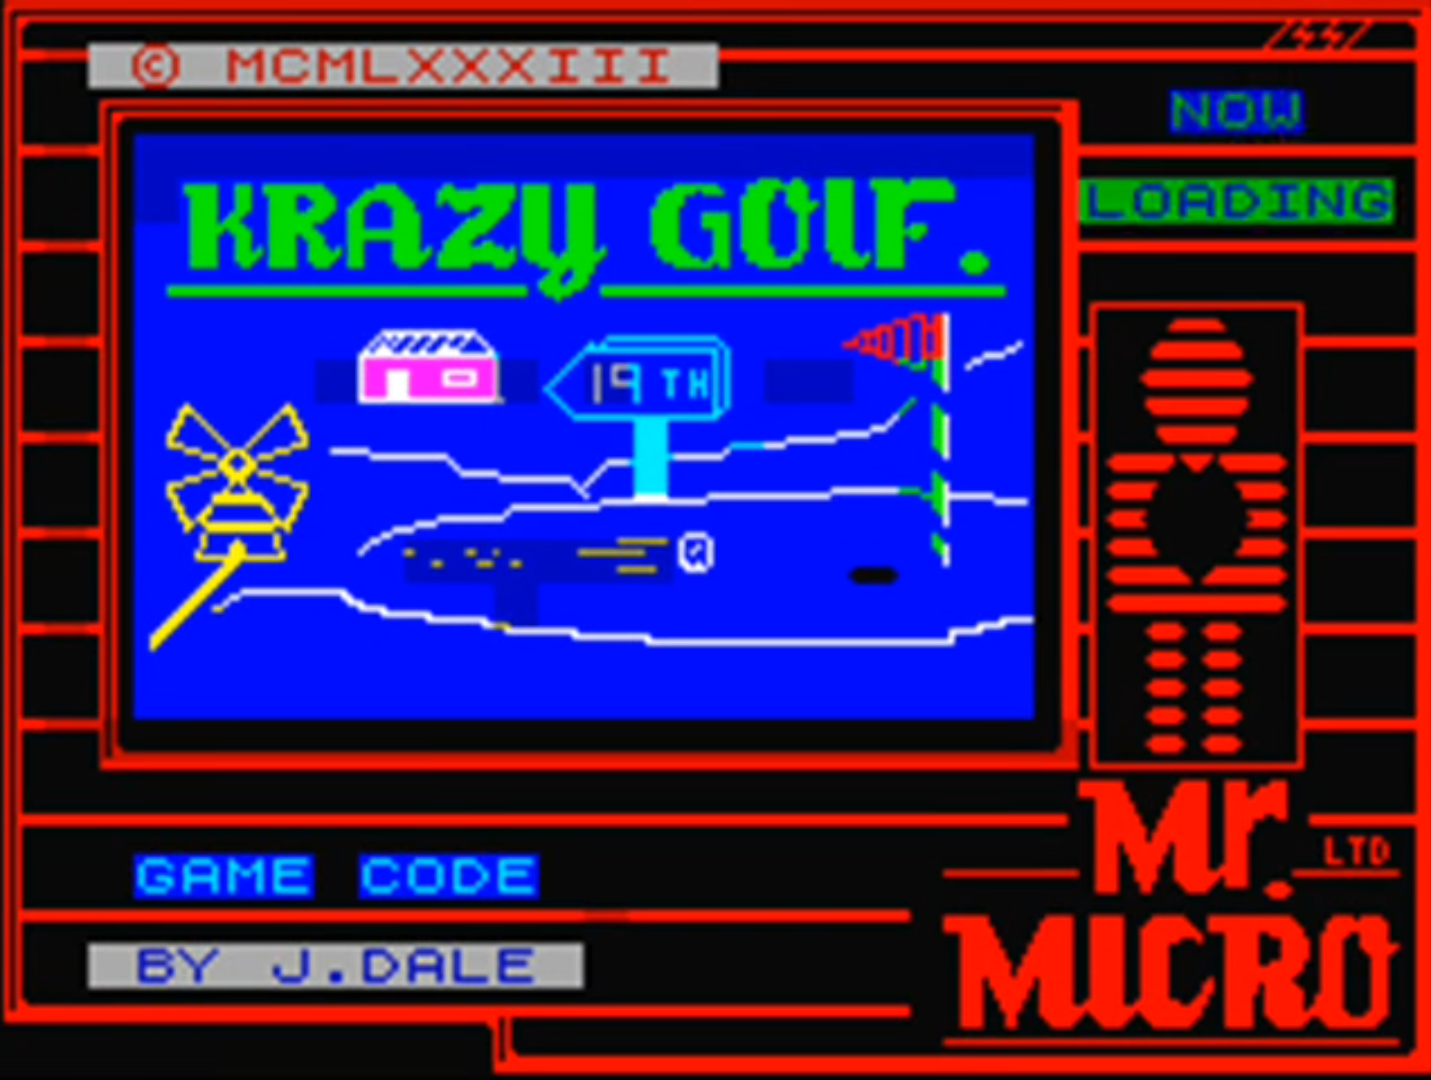
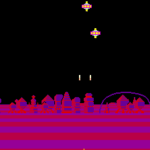
First released by Mr. Micro in 1983 – then under the banner of Sinclair Research – Krazy Golf was, confusingly, also called Crazy Golf. The loading screen featured the Krazy spelling, but on the cover, it was plain old Crazy Golf.
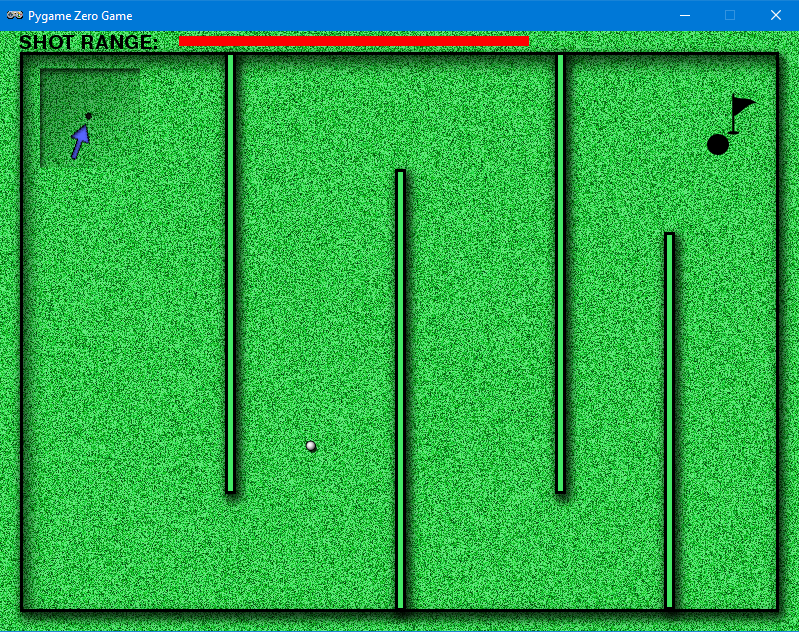
Designed for the ZX Spectrum, the game provided nine holes and a variety of obstacles to putt the ball around. Crazy Golf was released at a time when dozens of other games were hitting the Spectrum market, and although it was released under the Sinclair name and reviewed in magazines such as Crash, it didn’t make much impact. The game itself employed a fairly rudimentary control system, whereby the player selects the angle of the shot at the top left of the screen, sets the range via a bar along the top, and then presses the RETURN key to take the shot.
If you’ve been following our Source Code articles each month, you will have seen the pinball game where a ball bounces off various surfaces. In that example, we used a few shortcuts to approximate the bounce angles. Here, we’re only going to have horizontal and vertical walls, so we can use some fairly straightforward maths to calculate more precisely the new angle as the ball bounces off a surface. In the original game, the ball was limited to only 16 angles, and the ball moved at the same speed regardless of the strength of the shot. We’re going to improve on this a bit so that there’s more flexibility around the shot angle; we’ll also get the ball to start moving fast and then reduce its speed until it stops.
Horizontal or vertical obstruction?
To make this work, we need to have a way of defining whether an obstruction is horizontal or vertical, as the calculation is different for each. We’ll have a background graphic showing the course and obstacles, but we’ll also need another map to check our collisions. We need to make a collision map that just has the obstacles on it, so we need a white background; mark all the horizontal surfaces red and all the vertical surfaces blue.
As we move the ball around the screen (in much the same way as our pinball game) we check to see if it has collided with a surface by sampling the colours of the pixels from the collision map. If the pixel’s blue, we know that the ball has hit a vertical wall; if it’s red, the wall’s horizontal. We then calculate the new angle for the ball. If we mark the hole as black, then we can also test for collision with that – if the ball’s in the hole, the game ends.
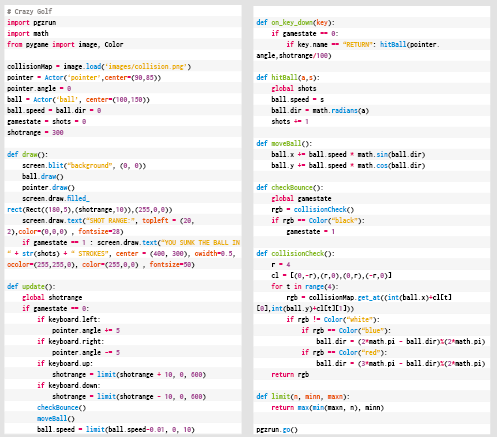
Get the code
We have our ball bouncing mechanism, so now we need our user interaction system. We’ll use the left and right arrow keys to rotate our pointer, which designates the direction of the next shot. We also need a range-setting gizmo, which will be shown as a bar at the top of the screen. We can make that grow and shrink with the up and down arrows.
Then when we press the RETURN key, we transfer the pointer angle and the range to the ball and watch it go. We ought to count each shot so that we can display a tally to the player once they’ve putted the ball into the hole. From this point, it’s a simple task to create another eight holes – and then you’ll have a full crazy golf game!
Get your copy of Wireframe issue 55
You can read more features like this one in Wireframe issue 54, available directly from Raspberry Pi Press — we deliver worldwide.

And if you’d like a handy digital version of the magazine, you can also download issue 54 for free in PDF format.


No comments
Comments are closed