Check which phase the moon was in on a special day with this desktop lunar display
Lorraine Underwood over at element14 used a Raspberry Pi Pico W, a robotics development board, and a stepper motor to create a moon phase display for her desk. It might look like it’s just stalled on one particular phase, but in fact it’s much smarter than that.

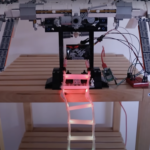
The moon has been on Lorraine’s mind since she had to alter her previous project on account of it being much too far away to run to (she built a step counting ladder to the International Space Station instead). She had to come up with a different way to capture it.
While it’s common to look up what phase the moon was in on a significant date and turn that image into something saccharine like a personalised poster or keychain, Lorraine wanted something more interactive, and something that could be meaningful on more than just one special date.
How does it work?
This Moon Phase Display allows you to input any date, and adjusts itself to show you what phase the moon was in on that day.
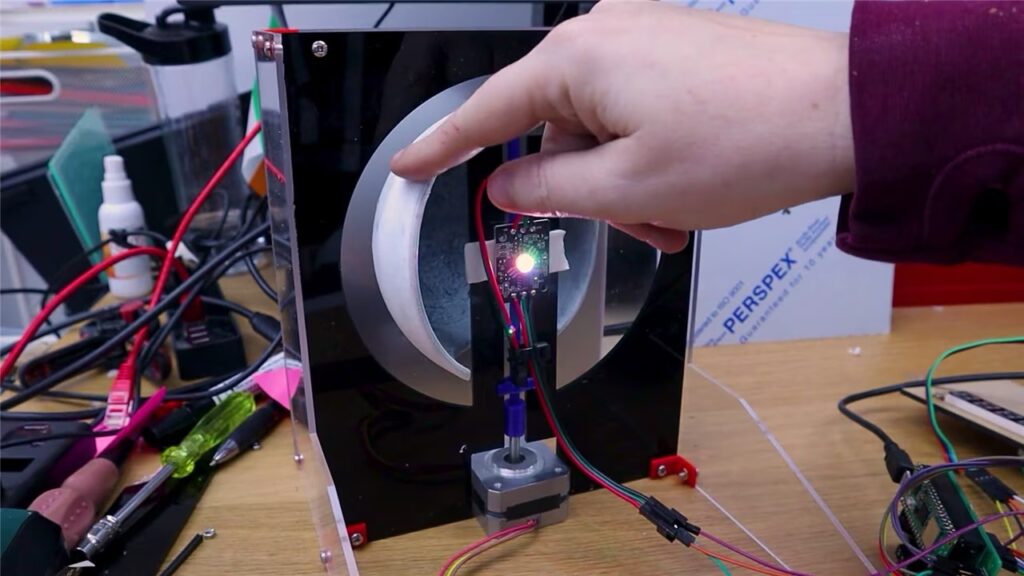
The build features a keypad with LED displays for users to enter their date of choice. Information about the moon’s phase on the specified date is pulled by the Pico W from Astronomy API. A stepper motor spins a 3D printed “shadow” inside the moon model to simulate the correct phase.
All of the buttons and LEDs, as well as the motor, were integrated with Kitronik’s Robotics Board for Raspberry Pi Pico.
Here’s one I hacked earlier
The main element of the display itself is a hacked-up moon-shaped lamp Lorraine sacrificed for this build and mounted on a custom stand. The LED light and extra 3D printed bits are stuffed inside the half of the lamp that survived the sawing session.
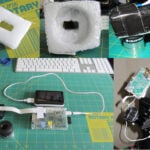
All the code and STL files for the 3D printed parts are available on GitHub. There’s a shopping list of materials as well as wiring diagrams over on element14.
For funzies, I vote you drop a significant date in the comments below and we can all Google around to guess why it’s significant to you. Make it really, really obscure. We like to play games on hard mode around here.

2 comments
Frankie T-H
Lorraine this is amazing, and easily as good as the translating face mask from lock down that really helped distract in a very useful way at a really challenging time. I submit the 14th December 2002 for the assessment of the pi crew and wish you well for the clocks going forwards this weekend! Hopefully I’ll get somewhere on time for at least one day :)
Raspberry Pi Staff Ashley Whittaker — post author
I seem to like ALL of Liz’s build ideas.
Comments are closed