A low-cost, open-source, computer-assisted microscope
Low-cost open labware is a good thing in the world, and I was particularly pleased when micropalaeontologist Martin Tetard got in touch about the Raspberry Pi-based microscope he is developing. The project is called microscoPI (what else?), and it can capture, process, and store images and image analysis results. Martin is engaged in climate research: he uses microscopy to study tiny fossil remains, from which he gleans information about the environmental conditions that prevailed in the far-distant past.
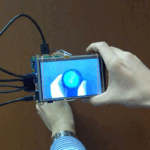
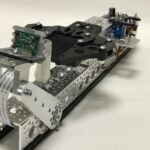
Martin repurposed an old microscope with a Z-axis adjustable stage for accurate focusing, and sourced an inexpensive X/Y movable stage to allow more accurate horizontal positioning of samples under the camera. He emptied the head of the scope to install a Raspberry Pi Camera Module, and he uses an M12 lens adapter to attach lenses suitable for single-specimen close-ups or for imaging several specimens at once. A Raspberry Pi 3B sits above the head of the microscope, and a 3.5-inch TFT touchscreen mounted on top of the Raspberry Pi allows the user to check images as they are captured and processed.
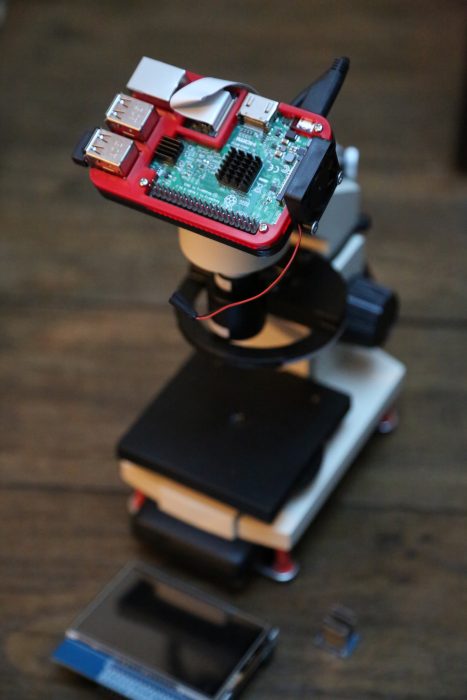
The Raspberry Pi runs our free operating system, Raspbian, and free image-processing software ImageJ. Martin and his colleagues use a number of plugins, some developed themselves and some by others, to support the specific requirements of their research. With this software, microscoPI can capture and analyse microfossil images automatically: it can count particles, including tiny specimens that are touching, analyse their shape and size, and save images and results before prompting the user for the name of the next sample.

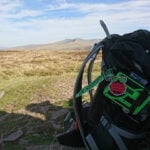
microscoPI is compact – less than 30cm in height – and it’s powered by a battery bank secured under the base of the microscope, so it’s easily portable. The entire build comes in at under 160 Euros. You can find out more, and get in touch with Martin, on the microscoPI website.

8 comments
Clarence Pitt
At about the 18 sec mark in this video an interesting looking portable keyboard of some sort is used. Any idea what that device is?
AndrewS
Looks like a “Rii mini keyboard” – try searching on Amazon or similar.
Martin Tetard
Indeed, that’s the one ! :)
AndrewS
Martin – I’ve often wondered if something like your project here could be combined with a motorised x-y stage and used to automatically stitch-together close-up magnifications of an object that’s bigger than the microscope’s viewing area, into one giant image? IYSWIM.
Martin Tetard
AndrewS, I would love to do that. I’ve plan this and will try to do it, however, I would need to parameter a GPIO pin or several to deliver a specific amount of electricity during a specific amount of time to: take a picture, move the stage, take another picture, move the stage, both in x and y. and so on… I still don’t know how to do it, but I will definitely try!
Shoe
Expensive motorised microscopes have this feature, but the one thing I’ve been told they also need to do is a shading correction. The way the light is handled by the optics means that the edges of an image can be more dull than the centre, so the software on our research system corrects for this when image stitching because otherwise you get a checkerboard of darker edges in each individual photo.
I guess whether or not this is a problem depends on how much of the optical field of view the Pi camera is actually capturing. If it isn’t capturing right out to the edges it may not be too bad.
AndrewS
I think for accuracy you’d want to use stepper motors? If you use google I’m sure you’ll find lots of tutorials :-)
And https://pinout.xyz/boards#type=Motor might be a good starting-point too.
Iuri
Very cool !!
Any reason why “setBatchMode(true)” was not seemingly used ?
Comments are closed