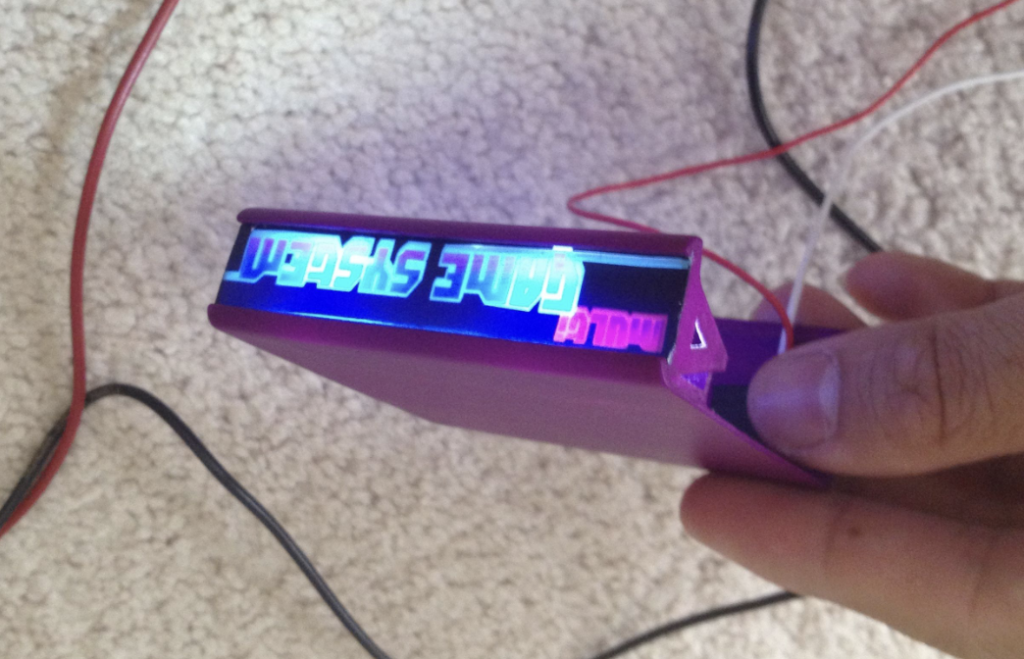
This tiny arcade cabinet is the same size as a Coke can
Maker diygizmo, known as Gizmo from here on in because Gremlins, has always wanted a tiny arcade for their desk. When the urge to make it happen finally took over, they went all in and built the tiniest one they could. They spent months developing 3D-printed prototypes, and you can purchase the final product for yourself here.

I’ve cobbled a quick overview of the build here, but if you’d like to make one, follow Gizmo’s detailed Instructables post.
Hardware
- Micro arcade cabinet (available in lots of colours but the raspberry-like pink is the best! Maybe go for the white if you’d like to do a completely custom paint job)
- Micro arcade button pack (also available in different colours)
- Raspberry Pi 4
- NTSC/PAL 2.5″ TFT screen from The Pi Hut
- LED sequins from Adafruit
- Tactile push buttons and mini joystick from Digikey
- HMDX HX-GO3 speaker case (this is disassembled to the bare bones to fit inside the arcade)


The maker did the painting themselves using some of these decals to add an authentic finish.
Steps to build
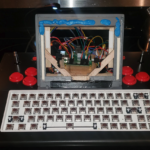
Gizmo started out by disassembling the speaker, leaving just the PCB and the speakers themselves, which they desoldered to replace the wires with longer ones. They then soldered the audio cables from the speaker PCB and the video cables from the TFT screen directly to the Raspberry Pi GPIO pins.


As usual, you’ll need another computer with an SD card slot (or a cheap USB SD card adapter) in order to get the gaming software onto an SD card and then onto your Raspberry Pi. Gizmo used Adafruit’s Retrogame software, and this how-to guide walks you through button configuration.


Now it’s time to clip together the 3D-printed arcade cabinet parts and add any stickers, decals, and additional painting. Keep the back panel off so you can insert the hardware at the end. I saw the best Addam’s Family-themed arcade game last year but I definitely do not have the fine painting skills to recreate it on a surface of any size, let alone this miniature thing.

Next, Gizmo popped the buttons through the ready-made holes and soldered the wires into place, followed by the screen. Raspberry Pi is the last element to be added, with everything soldered directly onto the GPIO pins before the board is fitted neatly inside the back panel of the arcade.

All that’s left to do is to switch it on and get (retro) gaming.

6 comments
Laurent
Nice work.
But I really doubt it’s a Raspberry Pi 4 on the last picture ^^’
Raspberry Pi Staff Ashley Whittaker — post author
We are JUST discussing this at Pi Towers…
Raspberry Pi Staff Alasdair Allan
A retro gaming cabinet with a retro Pi!
Raspberry Pi Staff Liz Upton
I think this means my NAS box and the music player my son uses are both retro. I have a two-year-old hipster and didn’t even realise.
Ton van Overbeek
This reminds me of the original Adafruit Cupcade for RPi 1. Still sitting in a drawer here.
TikT
one of these would look wonderful on my desk next to my video game
Comments are closed