Raspberry Pi Pico-controlled model railroad
The Orient Express. The Flying Scotsman. Ivor the Engine. All juggernauts of the rail community, but none powered by our microcontroller and all, thus, inferior in our eyes. Raspberry Pi Pico has been used in cooler and more interesting ways every day since its launch in January this year, but this is the first time we’ve seen it powering a miniature railway. KushagraK7 shared this compact application on Instructables, and we ended up down a rabbit hole of model trains enthusiasm.
What does Raspberry Pi Pico do here?
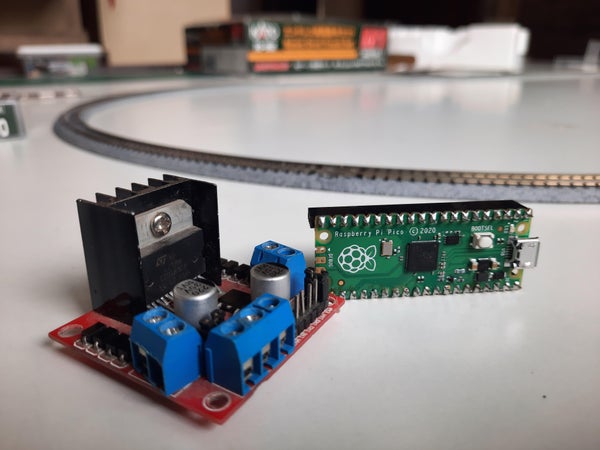
KushagraK7’s Raspberry Pi Pico controls the track voltage to control the speed of the train using pulse-width modulation (PWM). PWM is a method of reducing the average power delivered by an electrical signal. A motor driver powers the locomotive itself.
You gotta speed it up and then you gotta slow it down
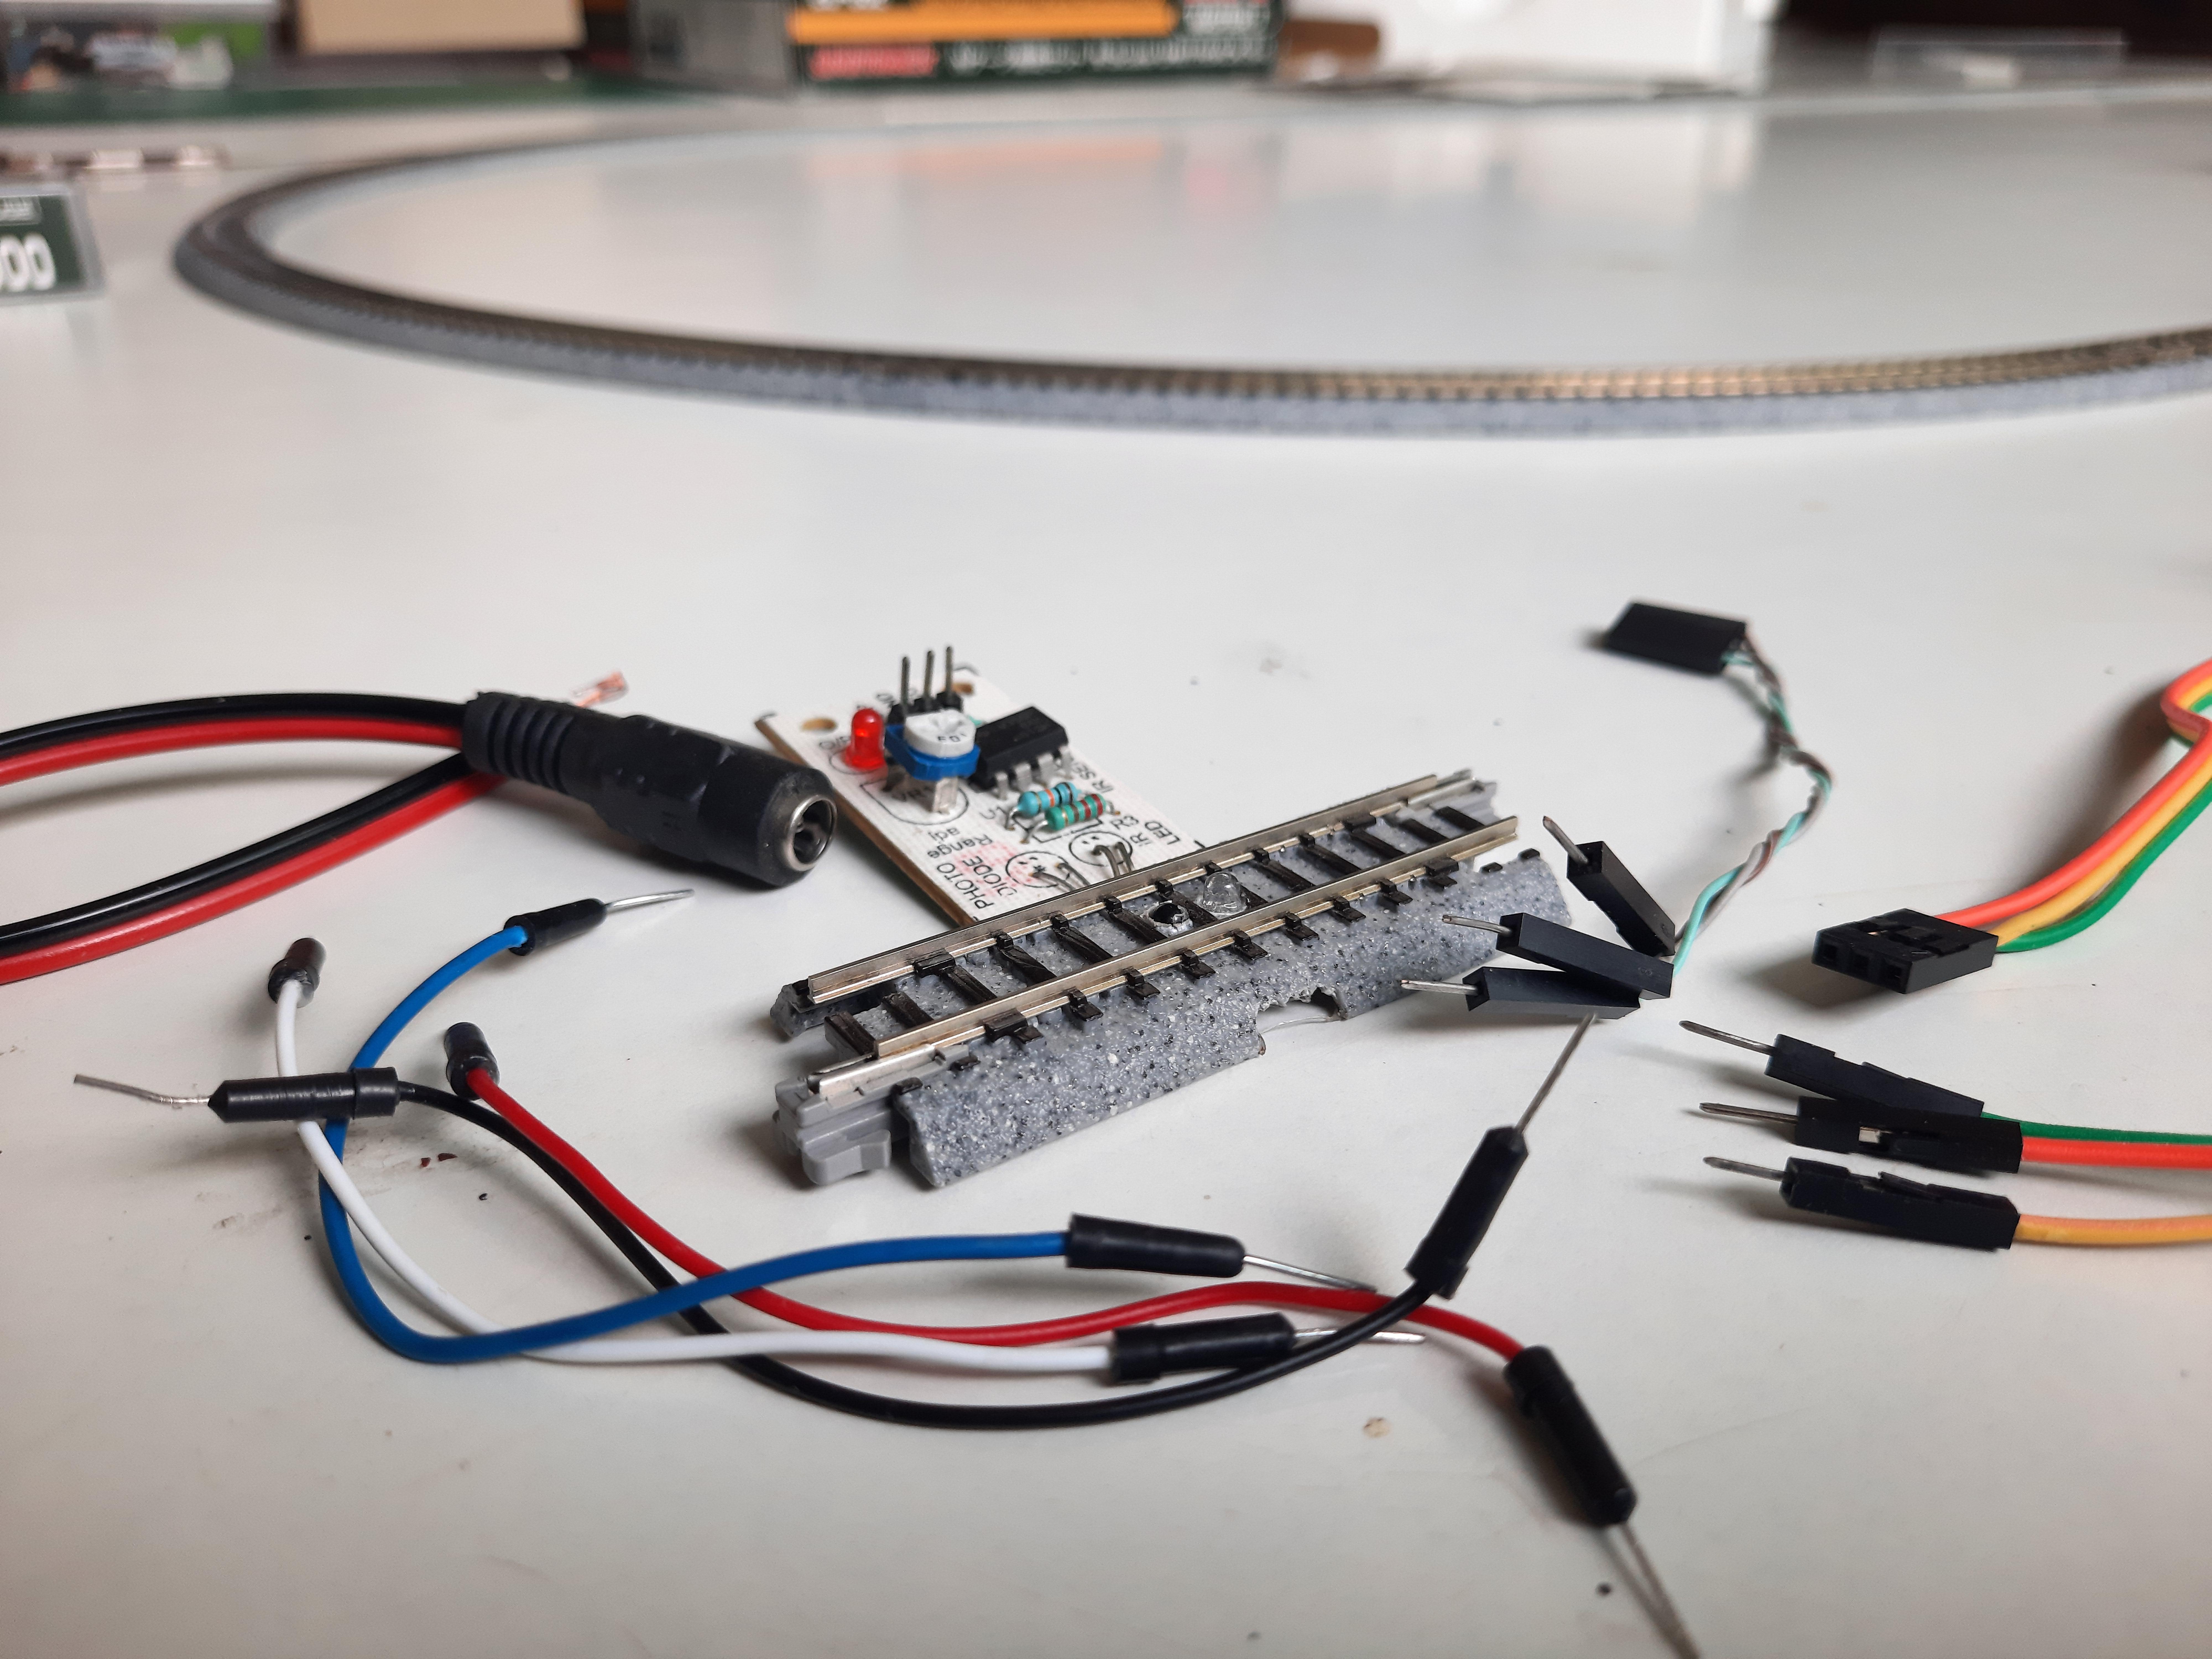
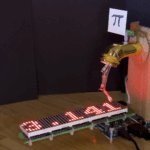
This particular setup is designed to make the train start off slowly then speed up gradually each time it travels over a sensored segment of the track — that is, a segment equipped with an infrared sensor to detect whether a train is there. A therapeutic loop of the speeding-up process plays from this point in KushagraK7’s YouTube video.
Once the train reaches its top speed, it slows down again, coming to a complete halt after it passes the sensored track section once more. The train stops for a set amount of time, then starts up again. Fast, faster, slow, stop. Fast, faster, slow, stop. And on and on and on again. All without any human interaction needed – you can just watch. Super satisfying.
Hardware
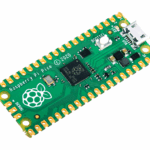
- Raspberry Pi Pico
- L298N motor driver
- A sensored track
How do I build it?
KushagraK7 has created an illustrated step-by-step tutorial for other miniature railway enthusiasts to follow, including when you should tidy up your wires, plus ideas to tinker with the code to adjust speed and stopping patterns.
Point us to your Raspberry Pi-powered model railway projects in the comments. Choo choooooooo.
4 comments
Stewart Watkiss
The Raspberry Pi, and now the Pico, are perfect for use with model railways. I’ve been concentrating more on my outdoor G-Scale model railway, but here’s a few of the projects I’ve done so far.
Model railway automation / web control with a Raspberry Pi
http://www.penguintutor.com/projects/modelrailwayautomation
Model railway house controlled with a DIY Raspberry Pi HAT, powering LEDs, Neopixels and a smoke generator
http://www.penguintutor.com/projects/christmas-house
Traffic lights controlled by a Pico
http://www.penguintutor.com/projects/gscaletrafficlights
Automated model railway signal lights controlled by a Raspberry Pi and a Pico / custom Arduino
http://www.penguintutor.com/projects/modelrailwaysignals
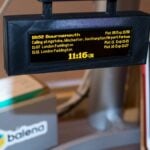
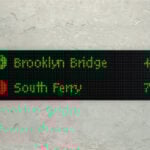
And an OLED station departure sign controlled by a Raspberry Pi
http://www.penguintutor.com/projects/modelrailwaydepartures
I hope to add more Raspberry Pi model railway projects in future.
Jongoleur
I’ve done something similar using an Arduino Uno, I’ll drop the Uno and have a go with a Pico!
Stewarts list above omits possibly the most common way to implement model railway control using a Raspberry Pi with the JMRI software and a DCC command station, such as a Sprog 3.
Mepco Bills
I’ve been concentrating more on my outdoor G-Scale model railway. By the way niche post.
David Web
I’ve done something similar using an Arduino Uno, I’ll drop the Uno and have a go with a Pico!
Comments are closed