Hacker House’s Zero W–powered automated gardener
Are the plants in your home or office looking somewhat neglected? Then build an automated gardener using a Raspberry Pi Zero W, with help from the team at Hacker House.
Building an automated gardener
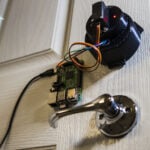
Tired of their plants looking a little too ‘crispy’, Hacker House have created an automated gardener using a Raspberry Pi Zero W alongside some 3D-printed parts, a 5v USB grow light, and a peristaltic pump.
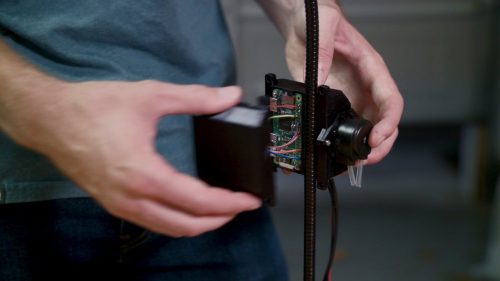
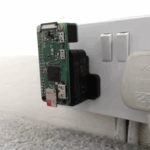
They designed and 3D printed a PLA casing for the project, allowing enough space within for the Raspberry Pi Zero W, the pump, and the added electronics including soldered wiring and two N-channel power MOSFETs. The MOSFETs serve to switch the light and the pump on and off.
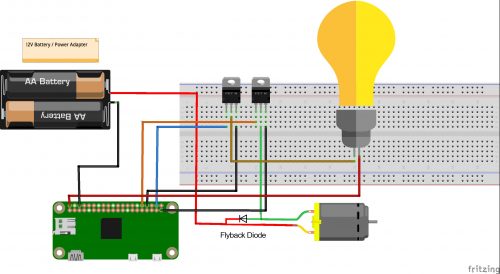
Due to the amount of power the light and pump need, the team replaced the Pi’s standard micro USB power supply with a 12v switching supply.
Coding an automated gardener
All the code for the project — a fairly basic Python script —is on the Hacker House GitHub repository. To fit it to your requirements, you may need to edit a few lines of the code, and Hacker House provides information on how to do this. You can also find more details of the build on the hackster.io project page.
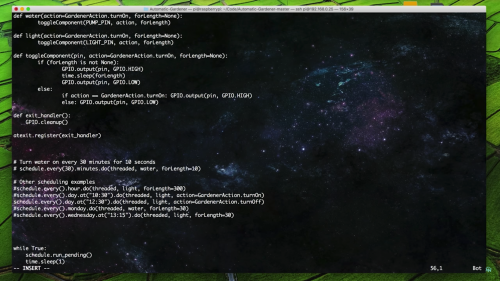
While the project runs with preset timings, there’s no reason why you couldn’t upgrade it to be app-based, for example to set a watering schedule when you’re away on holiday.
To see more for the Hacker House team, be sure to follow them on YouTube. You can also check out some of their previous Raspberry Pi projects featured on our blog, such as the smartphone-connected door lock and gesture-controlled holographic visualiser.
Raspberry Pi and your home garden
Raspberry Pis make great babysitters for your favourite plants, both inside and outside your home. Here at Pi Towers, we have Bert, our Slack- and Twitter-connected potted plant who reminds us when he’s thirsty and in need of water.
I'm good. There's plenty to drink! pic.twitter.com/FexRO30M3R
— Bert Plant (@bert_the_plant) July 19, 2016
And outside of the office, we’ve seen plenty of your vegetation-focused projects using Raspberry Pi for planting, monitoring or, well, commenting on social and political events within the media.
If you use a Raspberry Pi within your home gardening projects, we’d love to see how you’ve done it. So be sure to share a link with us either in the comments below, or via our social media channels.


4 comments
Alex Bate
Now I’m home, I realise just how badly I actually need this in my life. I’m not saying my home is a plant graveyard…but it’s getting there.
AndrewS
Is Bert doing okay? He hasn’t tweeted for over 6 months…
I guess a soil-moisture sensor like Bert uses would be a nice addition to this HackerHouse project?
Alex Bate
Bert moved to a new room and I don’t think he’s been plugged back in. I’ll check on him later though I’m sure he’s fine…I hope.
KlaMa
Interesting project, however, the functions of this project can be easily implemented using two simple timers. For a truly autonomous project, wouldn’t it make sense to first detect the level of humidity in the soil/substrate and then using the Raspberry Pi to dose the irrigation? A simple resistance sensor connected to the pi’s GPIO pins should be a simple way to allow humidity detection.
Comments are closed