How to control your 3D printer using OctoPrint and Raspberry Pi
All tutorials
Control and manage your 3D printer and more using OctoPrint and Raspberry Pi. Here’s everything you need to know to get started!
Supplies
-
Raspberry Pi
-
suitable power supply (see the documentation for details)
-
microSD card (see the documentation for details)
-
adapter to connect your microSD card with your usual computer
-
USB cable (check your 3D printer for details)
-
Raspberry Pi camera or USB webcam (optional)
For the initial SD card setup, you will need:
-
Another computer connected to your network. We’ll refer to this as your usual computer to distinguish it from the Raspberry Pi computer you are setting up.
Choose a Raspberry Pi
OctoPrint supports older Raspberry Pi devices, but this tutorial uses a 2GB Raspberry Pi 4 Model B for a faster, smoother experience.
Configure your Raspberry Pi
To begin, follow the Getting Started documentation to set up your Raspberry Pi. For your operating system, choose Other specific purpose OS > 3D printing > OctoPi (stable).
During the OS customisation stage, edit settings as follows:
-
Enter a hostname of your choice (we suggest
octopifor this tutorial) -
Enter a username and password; you’ll need these later to authenticate
-
Check the box next to Configure wireless LAN so your Pi can automatically connect to Wi-Fi
-
Enter your network SSID (name) and password; you can find these in your Wi-Fi settings or on a sticker on your router
-
-
Check the box next to Enable SSH so we can connect to the Pi without a mouse and keyboard
Set up your Raspberry Pi
Connect your 3D printer to your Raspberry Pi using the appropriate USB cable for your printer. For this tutorial, we’re using an Ender 5, which requires a USB-A-to-mini-USB cable.
Set up OctoPrint
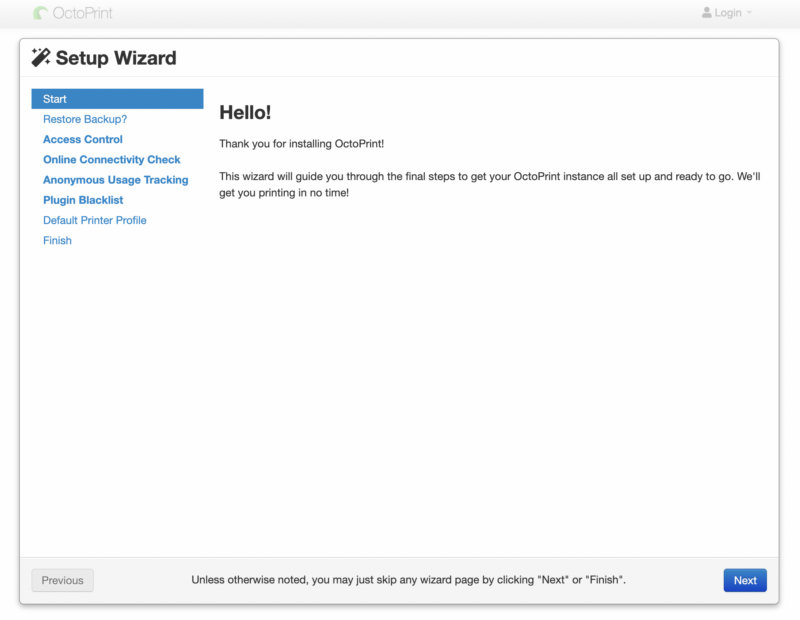
Open a web browser on your usual computer. Type http://octopi.local into the address bar. This will allow you to set up OctoPrint. Follow the on-screen instructions to set up OctoPrint and enter details for your 3D printer. Once complete, OctoPrint will restart and you’ll be able to get printing by following the on-screen instructions.
You can access OctoPrint at any time by visiting http://octopi.local on a computer or mobile device connected to the same network as your Raspberry Pi.
Add a camera (optional)
To keep an eye on your models as they print, add a Raspberry Pi camera or a USB webcam.
To do this:
-
Unplug your Raspberry Pi from the power supply
-
Connect your Raspberry Pi camera or webcam

-
Reconnect the power supply and open OctoPrint at http://octopi.local
-
Click the wrench icon to enter the OctoPrint Settings menu
-
Under FEATURES, select Webcam Timelapse
Here, you can click the Test button to make sure your camera works properly and make any necessary changes, such as altering aspect ratio and rotation.
You can also enable time-lapse recordings of your prints and save them to your Raspberry Pi.
You can view your camera settings under Control on the main OctoPrint dashboard.
Using OctoPrint
OctoPrint offers a dashboard that meets the needs of most users. More advanced users may want to investigate the third-party plugins managed by the community. You can find them in the OctoPrint Settings menu.
OctoPrint is a free-to-download open-source web interface created and maintained by Gina Häußge. If you would like to support OctoPrint, you can make a contribution via their website.